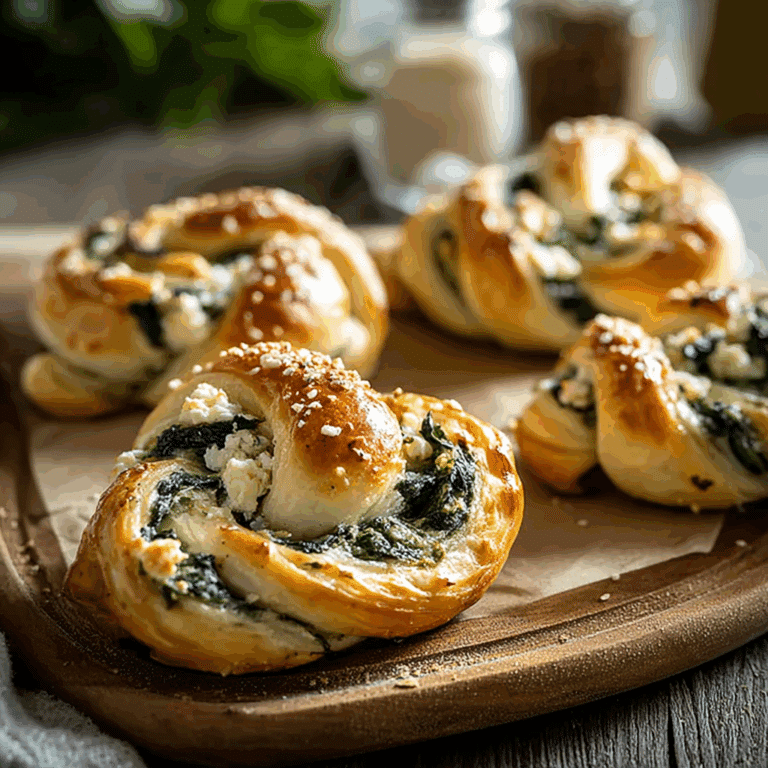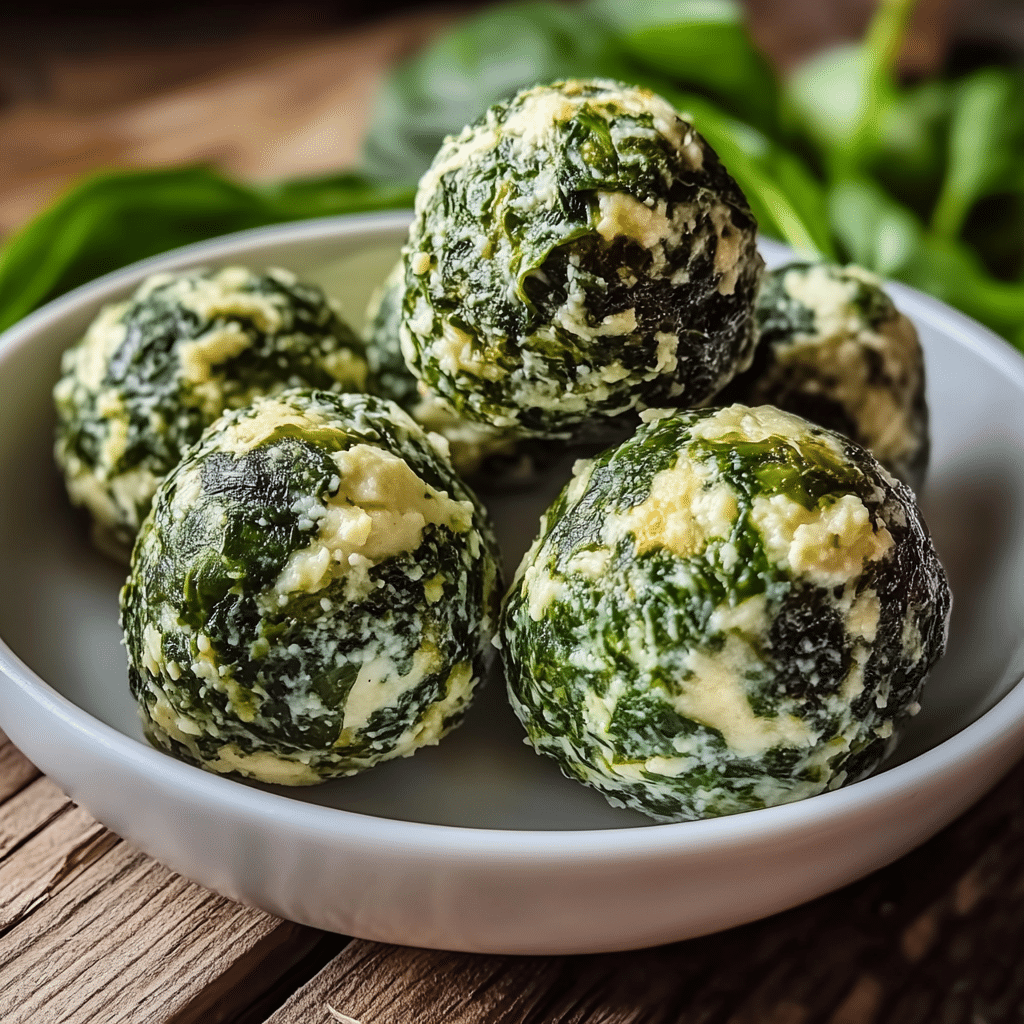
Spinach and Ricotta Balls
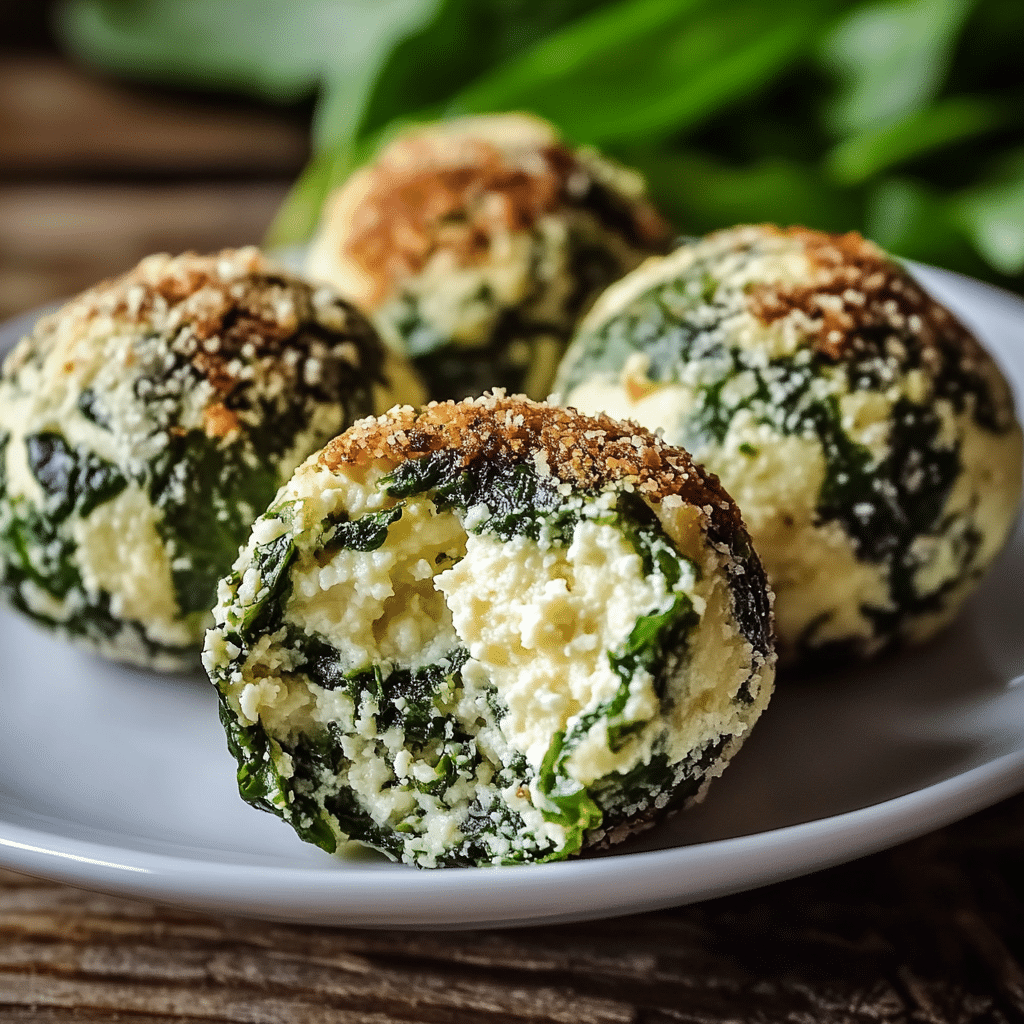
Few dishes manage to capture comfort and elegance in one bite quite like Spinach and Ricotta Balls. Imagine tender, golden bites with a soft, creamy center, flecked with vibrant green spinach, all carrying the gentle aroma of herbs and cheese. Served warm, they almost melt on your tongue, leaving behind a hint of nutmeg and a whisper of garlic. Whether they’re nestled beside a tangy tomato sauce or standing proudly as the centerpiece of an antipasto spread, these little gems are a promise of pure culinary joy.
Behind the Recipe
This recipe carries with it the charm of Italian home kitchens, where nonnas have been rolling spinach and ricotta into delicate spheres for generations. The act itself feels meditative — a bowl of fresh ingredients, a sprinkle of love, and a simple roll between your palms. I remember making these for the first time in a tiny apartment kitchen, music playing in the background, flour dusting my countertop like snow. They’ve been a go-to for cozy dinners ever since.
Recipe Origin or Trivia
Spinach and ricotta as a pairing is deeply rooted in Italian cuisine, particularly in Tuscany and Emilia-Romagna. These regions are famous for their fresh cheeses and leafy greens, often used in pasta fillings such as ravioli or cannelloni. Turning that same flavor combination into small, pan-fried or baked balls is a playful twist that likely evolved from using up leftover filling. Today, they’ve crossed borders, finding their way into tapas spreads, vegetarian feasts, and even brunch menus.
Print
Spinach and Ricotta Balls
- Total Time: 45 minutes
- Yield: 4 servings 1x
- Diet: Vegetarian
Description
Tender, golden spinach and ricotta balls with a creamy center and savory Parmesan, perfect as an appetizer or light main with marinara.
Ingredients
- 250 g fresh spinach, cooked and well drained
- 250 g ricotta cheese, drained
- 50 g Parmesan cheese, finely grated
- 100 g breadcrumbs
- 2 large eggs
- 1 garlic clove, minced
- 1 pinch ground nutmeg
- 1 tsp fine sea salt
- 1/2 tsp freshly ground black pepper
- 2 tbsp olive oil, for baking or frying
Instructions
- Preheat the oven to 180°C (350°F) if baking, or heat a thin layer of olive oil in a large skillet over medium heat if frying.
- In a large bowl, combine the drained spinach, ricotta, Parmesan, breadcrumbs, eggs, garlic, nutmeg, salt, and pepper until evenly mixed.
- Line a baking tray with parchment paper if baking, or set a plate with paper towels if frying.
- Roll the mixture into walnut-sized balls and place them on the prepared tray or plate.
- Bake for 20–25 minutes until lightly golden, or fry in batches for 3–4 minutes, turning until crisp and golden.
- Transfer to a rack or paper towels, then sprinkle with extra Parmesan or herbs if desired.
- Serve warm with marinara or your favorite dipping sauce.
Notes
- Drain ricotta and spinach very well to prevent a loose mixture.
- Chill the mixture for 20–30 minutes to make rolling easier.
- For extra crunch, use panko breadcrumbs.
- Air fryer option: 180°C for 12–15 minutes, shaking once.
- Prep Time: 20 minutes
- Cook Time: 25 minutes
- Category: Appetizer
- Method: Baked or Pan-Fried
- Cuisine: Italian
Nutrition
- Serving Size: 1/4 of recipe, about 4–5 balls
- Calories: 230
- Sugar: 2 g
- Sodium: 520 mg
- Fat: 14 g
- Saturated Fat: 6 g
- Unsaturated Fat: 7 g
- Trans Fat: 0 g
- Carbohydrates: 14 g
- Fiber: 2 g
- Protein: 12 g
- Cholesterol: 90 mg
Keywords: spinach and ricotta balls, baked ricotta balls, Italian appetizer, vegetarian appetizer, party snacks
Why You’ll Love Spinach and Ricotta Balls
Versatile: Perfect as an appetizer, side dish, or even tossed into pasta.
Budget-Friendly: Made with simple, affordable ingredients you may already have on hand.
Quick and Easy: Comes together in under an hour without complicated techniques.
Customizable: Adjust herbs, spices, or coatings to suit your taste.
Crowd-Pleasing: Everyone loves these golden bites, from kids to adults.
Make-Ahead Friendly: Roll them in advance and cook just before serving.
Great for Leftovers: They reheat beautifully and can be used in creative ways.
Chef’s Pro Tips for Perfect Results
Rolling the perfect Spinach and Ricotta Ball is all about balance — not too wet, not too dry. Here’s how to get them just right:
- Use fresh spinach if possible for brighter flavor and color.
- Drain ricotta well to avoid excess moisture, which can make the mixture too soft.
- Chill the mixture for 20–30 minutes before rolling to help them hold their shape.
- Fry in batches so they cook evenly and don’t steam.
- If baking, brush lightly with oil for a crisp finish.
Kitchen Tools You’ll Need
Before we get started, here are the essentials for a smooth cooking process:
Mixing Bowls: For combining your ingredients without making a mess.
Colander: To drain cooked spinach thoroughly.
Wooden Spoon: Gentle enough for mixing without crushing ingredients.
Baking Tray or Frying Pan: Depending on your cooking method.
Slotted Spoon: For lifting fried balls while leaving oil behind.
Ingredients in Spinach and Ricotta Balls
When these ingredients come together, the result is a harmony of flavors and textures that’s simply irresistible.
- Fresh Spinach: 250g, cooked and drained, adds vibrant color and earthy sweetness.
- Ricotta Cheese: 250g, creamy and mild, forms the base of the mixture.
- Parmesan Cheese: 50g grated, provides salty, nutty depth.
- Breadcrumbs: 100g, for structure and a tender bite.
- Eggs: 2 large, bind everything together.
- Garlic: 1 clove minced, adds aromatic warmth.
- Nutmeg: A pinch, enhances the spinach and cheese.
- Salt: 1 tsp, for seasoning.
- Black Pepper: ½ tsp, for balance.
- Olive Oil: For frying or brushing before baking, adds a golden crispness.
Ingredient Substitutions
Sometimes, a little flexibility is needed:
Fresh Spinach: Use frozen spinach, thawed and drained well.
Parmesan Cheese: Swap with Pecorino Romano for a sharper taste.
Breadcrumbs: Use panko for extra crunch.
Olive Oil: Use vegetable oil if frying at higher temperatures.
Ingredient Spotlight
Ricotta Cheese: Light, creamy, and subtly sweet, ricotta is a fresh cheese that pairs beautifully with greens and herbs, creating a delicate, melt-in-your-mouth texture.
Spinach: Known for its earthy taste and bright green hue, spinach brings freshness and a nutrient boost to this dish.
Instructions for Making Spinach and Ricotta Balls
Cooking these beauties is as enjoyable as eating them. Here’s the journey:
- Preheat Your Equipment: If baking, set oven to 180°C (350°F). If frying, heat oil in a large pan over medium heat.
- Combine Ingredients: In a large bowl, mix spinach, ricotta, Parmesan, breadcrumbs, eggs, garlic, nutmeg, salt, and pepper until well combined.
- Prepare Your Cooking Vessel: Line a baking tray with parchment paper or prepare a plate with paper towels for fried balls.
- Assemble the Dish: Roll mixture into walnut-sized balls, placing them on the tray or a plate.
- Cook to Perfection: Bake for 20–25 minutes until golden, or fry in batches for 3–4 minutes until crisp and golden.
- Finishing Touches: Sprinkle with extra Parmesan or fresh herbs.
- Serve and Enjoy: Best enjoyed warm, perhaps with a marinara dipping sauce.
Texture & Flavor Secrets
The magic lies in the contrast — a crisp golden exterior gives way to a creamy, cheesy center. The nutmeg subtly perfumes the mixture, while Parmesan adds a savory depth. The spinach brightens the flavor, making each bite feel light yet indulgent.
Cooking Tips & Tricks
- Fry in small batches for even cooking.
- For a healthier option, bake with a light brush of oil.
- Chill the mixture to make rolling easier.
What to Avoid
- Using wet ricotta — always drain to avoid soggy balls.
- Overcrowding the pan — it will lower the oil temperature.
- Skipping seasoning — under-seasoned balls can taste flat.
Nutrition Facts
Servings: 4
Calories per serving: 230
Note: These are approximate values.
Preparation Time
Prep Time: 20 minutes
Cook Time: 25 minutes
Total Time: 45 minutes
Make-Ahead and Storage Tips
These balls can be rolled and refrigerated up to 24 hours before cooking. Cooked balls keep in an airtight container in the fridge for up to 3 days. They also freeze beautifully — just reheat in the oven for a crispy finish.
How to Serve Spinach and Ricotta Balls
Serve with a tangy tomato sauce, alongside a crisp salad, or as part of a mezze platter. They also make a delightful sandwich filling with fresh bread and roasted peppers.
Creative Leftover Transformations
- Chop and toss into pasta for a quick meal.
- Slice and add to wraps with hummus and veggies.
- Reheat and serve atop a grain bowl.
Additional Tips
Use freshly grated cheese for maximum flavor, and season the breadcrumb coating if you want an extra punch.
Make It a Showstopper
Arrange on a platter with colorful dipping sauces, sprinkle with chopped parsley, and serve with lemon wedges for a fresh pop.
Variations to Try
- Add chopped sun-dried tomatoes for sweetness.
- Mix in fresh basil or mint for a herbaceous twist.
- Use a mix of cheeses like feta and ricotta for tang.
- Coat in sesame seeds before baking for a nutty crunch.
FAQ’s
1. Can I use frozen spinach?
Yes, just thaw and drain thoroughly.
2. Can I make these gluten-free?
Yes, swap breadcrumbs for gluten-free crumbs.
3. Can I air fry them?
Absolutely, 180°C for 12–15 minutes.
4. Can I prepare them the day before?
Yes, store uncooked balls in the fridge.
5. Can I serve them cold?
They’re best warm but can be enjoyed cold in salads.
6. Do they freeze well?
Yes, both cooked and uncooked.
7. What sauce pairs best?
Marinara is classic, but pesto works wonderfully too.
8. Can I add other vegetables?
Yes, finely chopped zucchini or carrots work well.
9. Can I bake instead of fry?
Yes, baking is a great low-oil option.
10. How do I keep them from falling apart?
Chill the mixture and don’t skip the breadcrumbs.
Conclusion
Spinach and Ricotta Balls are the kind of dish that make you feel instantly at home, whether you’re sharing them at a dinner party or enjoying them on a quiet evening in. Their combination of creamy, cheesy filling and light, fresh spinach is a classic for a reason. Trust me, you’re going to love this — and once you’ve made them, they might just become a regular in your kitchen rotation.