Grandmother’s Pie Crust Recipe
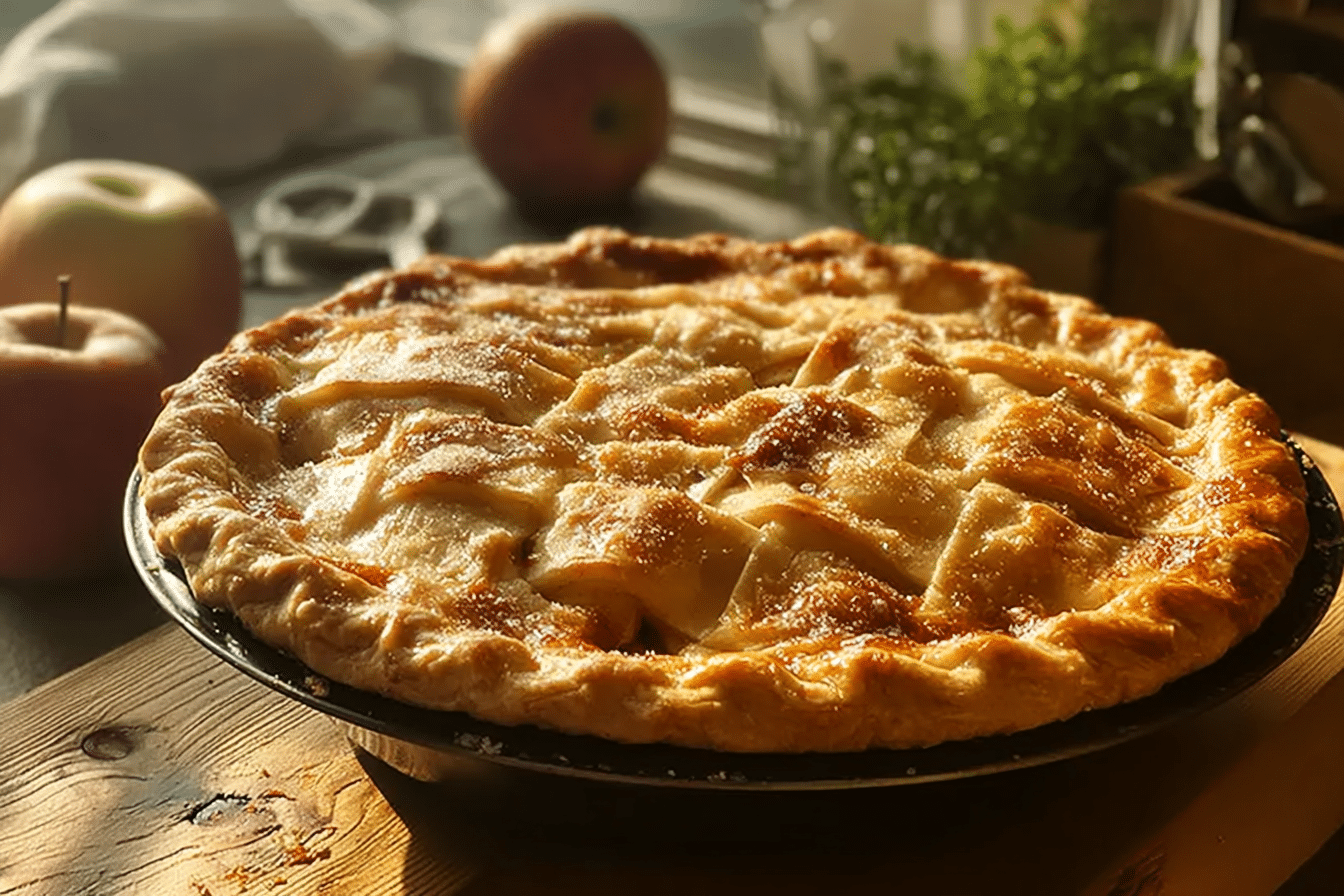
There is something magical about the way a pie crust can set the tone for an entire dessert. The first bite of a flaky, buttery layer melting in your mouth is often what makes a pie unforgettable. This recipe, passed down from my grandmother, carries with it the warmth of family kitchens, the scent of butter mingling with flour, and the comfort of tradition. Trust me, you’re going to love this one, because nothing tastes quite like a homemade pie crust that’s been lovingly rolled out by hand.
Behind the Recipe
My grandmother’s kitchen was always alive with the hum of baking. I remember watching her hands, strong yet gentle, work the dough with patience and grace. She never measured by eye alone but with instinct, teaching me that a good pie crust is as much about feel as it is about ingredients. Every holiday and special occasion began with her crust, the base for both sweet apple pies and savory pot pies, making each meal feel complete.
Recipe Origin or Trivia
Pie crusts have been a cornerstone of baking for centuries, tracing back to medieval Europe where they were originally used as simple vessels for meat and fruit fillings. Over time, they transformed into the delicate, flaky shells we know today. In America, the pie became a symbol of comfort food, with regional variations emerging across the country. My grandmother’s version is a nod to this rich tradition, keeping it simple yet timeless with flour, butter, and a touch of love.
Print
Grandmother’s Pie Crust Recipe
- Total Time: About 1 hour 40 minutes (including chilling and blind bake)
- Yield: One 9-inch double crust (or two single crusts) serving about 8
- Diet: Vegetarian
Description
A classic, flaky, buttery pie crust inspired by a grandmother’s timeless method, perfect for sweet and savory pies.
Ingredients
- All-Purpose Flour: 2 1/2 cups
- Unsalted Butter (cold, cubed): 1 cup
- Salt: 1 teaspoon
- Granulated Sugar: 1 tablespoon
- Ice Water: 6 to 8 tablespoons
Instructions
- Chill Equipment: Place your mixing bowl, pastry cutter or fork, and rolling pin in the refrigerator for about 10 minutes to keep ingredients cold.
- Mix Dry Ingredients: Combine 2 1/2 cups all-purpose flour, 1 teaspoon salt, and 1 tablespoon granulated sugar in a chilled mixing bowl, stirring to distribute evenly.
- Cut in Butter: Add 1 cup cold, cubed unsalted butter and cut into the flour with a pastry cutter or fork until the mixture resembles coarse crumbs with pea-sized pieces of butter.
- Add Ice Water: Drizzle in 6 tablespoons ice water a tablespoon at a time, gently stirring until the dough just begins to come together. Add up to 2 more tablespoons if needed, but avoid over-wetting.
- Form Disks: Gather the dough into two disks (for a double crust) or one disk for a single crust, pressing gently to bring it together; do not overwork the dough.
- Wrap and Chill: Wrap disks tightly in plastic wrap and chill in the refrigerator for at least 1 hour before rolling.
- Roll Out: On a lightly floured surface, roll the chilled dough from the center outward to an even circle to fit your pie dish (typically 9 inches). Transfer to the pie dish and trim or crimp edges as desired.
- Blind Bake (if required): For a prebaked shell, preheat oven to 375°F (190°C). Line the crust with parchment and fill with pie weights or dried beans. Bake for 15 minutes, remove weights and parchment, then bake an additional 8 to 12 minutes until golden.
- Finish: Brush with egg wash or milk for a glossy finish if desired, then cool slightly before filling for filled pies or proceed with your pie filling and final bake as directed in your pie recipe.
- Store or Freeze: Unbaked dough can be refrigerated up to 3 days or frozen up to 3 months. Baked crust stores in an airtight container for up to 2 days.
Notes
- Keep all ingredients and equipment cold for the flakiest crust.
- Handle the dough gently and do not overwork it to avoid a tough crust.
- Use a light dusting of flour when rolling to prevent sticking but avoid adding too much flour which dries the dough.
- Freeze dough for 10 minutes before baking if you notice it shrinking while blind baking.
- Prep Time: 15 minutes (plus 1 hour chilling)
- Cook Time: 25 minutes (for blind baking; final bake time depends on filling)
- Category: Baking, Pastry
- Method: Mixing, Rolling, Blind Baking
- Cuisine: American
Nutrition
- Serving Size: 1/8 of finished double crust (approximate)
- Calories: 250
- Sugar: 2 g
- Sodium: 200 mg
- Fat: 15 g
- Saturated Fat: 9 g
- Unsaturated Fat: 5 g
- Trans Fat: 0 g
- Carbohydrates: 26 g
- Fiber: 1 g
- Protein: 3 g
- Cholesterol: 45 mg
Keywords: pie crust, homemade pie crust, flaky pie crust, grandmother’s pie crust, baking, pastry
Why You’ll Love Grandmother’s Pie Crust Recipe
Versatile: Perfect for both sweet desserts like fruit pies and savory dishes like quiches.
Budget-Friendly: Uses pantry staples you likely already have on hand.
Quick and Easy: Comes together in under 15 minutes before chilling.
Customizable: Works with butter, shortening, or even gluten-free flour blends.
Crowd-Pleasing: A flaky, golden crust that impresses at any table.
Make-Ahead Friendly: Dough can be refrigerated or frozen for later use.
Great for Leftovers: Any scraps can be repurposed into mini hand pies or toppings.
Chef’s Pro Tips for Perfect Results
The secret to a great crust is all in the technique. Here are some insider tips that my grandmother swore by:
- Keep ingredients cold, especially the butter, to achieve that perfect flakiness.
- Don’t overwork the dough, mix just until it comes together.
- Chill the dough before rolling to prevent shrinking while baking.
- Roll from the center outward in gentle strokes to keep the thickness even.
- Use a glass pie dish if possible, it helps achieve an evenly golden bottom crust.
Kitchen Tools You’ll Need
To make this recipe as seamless as possible, here’s what you’ll want nearby:
- Mixing Bowl: For combining flour, salt, and butter.
- Pastry Cutter or Fork: To cut butter into the flour.
- Rolling Pin: Essential for flattening the chilled dough.
- Plastic Wrap: For wrapping the dough before chilling.
- Pie Dish: To bake your crust to perfection.
Ingredients in Grandmother’s Pie Crust Recipe
Before we dive in, let’s look at the simple yet essential ingredients that make this crust so special.
- All-Purpose Flour: 2 ½ cups provides structure and body to the crust.
- Unsalted Butter: 1 cup (chilled and cubed) adds richness and creates flaky layers.
- Salt: 1 teaspoon enhances flavor and balances sweetness or savory fillings.
- Granulated Sugar: 1 tablespoon adds a subtle hint of sweetness.
- Ice Water: 6–8 tablespoons binds the dough together while keeping it cool.
Ingredient Substitutions
Sometimes you need to work with what you have, and luckily this crust is forgiving.
- Butter: Substitute with shortening for a slightly softer crust.
- All-Purpose Flour: Use a gluten-free flour blend for a gluten-free version.
- Sugar: Can be omitted entirely for savory pies.
Ingredient Spotlight
Butter: Cold butter is the heart of a flaky crust. As it melts in the oven, it creates little steam pockets that form delicious, crisp layers.
Flour: All-purpose flour gives the crust just the right balance of tenderness and structure, making it ideal for both sweet and savory fillings.
Instructions for Making Grandmother’s Pie Crust Recipe
Rolling out a pie crust is as much a ritual as it is a recipe. Here’s how to do it step by step:
- Preheat Your Equipment: Chill your mixing bowl and rolling pin in the fridge for about 10 minutes.
- Combine Ingredients: In the cold bowl, mix flour, salt, and sugar. Cut in the butter until the mixture resembles coarse crumbs.
- Prepare Your Cooking Vessel: Gradually add ice water, 1 tablespoon at a time, mixing just until the dough holds together.
- Assemble the Dish: Shape the dough into two disks, wrap in plastic, and chill for at least 1 hour.
- Cook to Perfection: Roll one disk into a circle and gently lay it into your pie dish, trimming the edges.
- Finishing Touches: If pre-baking, prick the bottom with a fork and bake at 375°F for 15–20 minutes until lightly golden.
- Serve and Enjoy: Fill with your desired filling and savor the homemade flavor.
Texture & Flavor Secrets
What makes this crust so irresistible is the balance between tender layers and crisp edges. The butter creates a nutty aroma as it bakes, while the salt enhances every bite. Each forkful shatters lightly before melting on your tongue, a textural contrast that makes every pie unforgettable.
Cooking Tips & Tricks
Here are a few more ways to make sure your pie crust turns out perfectly:
- Roll the dough between two sheets of parchment paper for easier handling.
- Freeze the shaped crust for 10 minutes before baking to prevent shrinking.
- Brush with egg wash for a beautiful golden sheen.
What to Avoid
A pie crust is simple but sensitive, so watch out for these common pitfalls:
- Adding too much water, it makes the crust tough.
- Over-kneading the dough, which leads to dense results.
- Forgetting to chill, causing butter to melt too soon.
Nutrition Facts
Servings: 8 slices
Calories per serving: 230
Note: These are approximate values.
Preparation Time
Prep Time: 15 minutes
Cook Time: 20 minutes
Total Time: 35 minutes (plus chilling time)
Make-Ahead and Storage Tips
One of the beauties of pie crust is how well it keeps. You can prepare the dough days in advance, wrap it tightly in plastic, and refrigerate for up to 3 days. For longer storage, freeze the disks for up to 3 months. When ready to use, let it thaw overnight in the fridge before rolling.
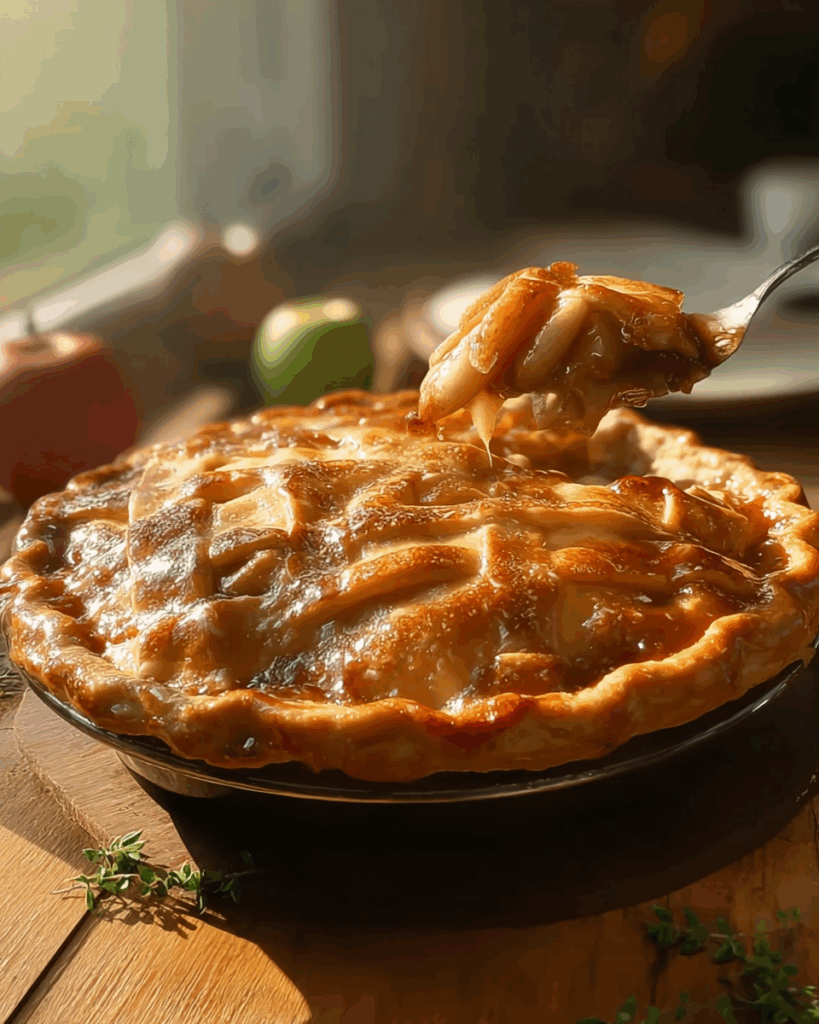
How to Serve Grandmother’s Pie Crust Recipe
This crust shines as the base for apple, pumpkin, or pecan pies, but don’t stop there. Try it with savory fillings like chicken pot pie or quiche. Pair it with a scoop of ice cream for dessert pies or a fresh side salad with savory ones.
Creative Leftover Transformations
Leftover dough can be turned into something fun and tasty:
- Cut into strips, sprinkle with cinnamon sugar, and bake for quick cookies.
- Use scraps to top fruit crisps.
- Press into muffin tins for mini tarts.
Additional Tips
Always flour your rolling surface lightly to prevent sticking, but don’t overdo it or the dough will toughen. For a richer flavor, add a dash of vanilla to sweet pies or herbs to savory ones.
Make It a Showstopper
Presentation matters, and with a little effort, your pie can look bakery-worthy. Try crimping the edges with a fork, braiding strips for a lattice top, or brushing with cream and sprinkling sugar before baking for extra sparkle.
Variations to Try
- Whole Wheat Crust: Replace half the flour with whole wheat for a nuttier flavor.
- Cheese-Infused Crust: Mix shredded cheddar into the flour for savory pies.
- Sweet Crust: Add an extra tablespoon of sugar for dessert pies.
- Herb Crust: Blend in dried thyme or rosemary for savory fillings.
- Nut Crust: Replace part of the flour with finely ground almonds.
FAQ’s
1. Can I make this crust ahead of time?
Yes, the dough can be refrigerated or frozen for later use.
2. How do I keep my crust from shrinking?
Chill the dough before baking and avoid stretching it in the pie dish.
3. Can I use salted butter instead of unsalted?
Yes, just reduce the added salt slightly.
4. How thin should I roll the dough?
About ⅛ inch thick for most pies.
5. Do I need to blind bake the crust?
Only if your filling requires a pre-baked shell, like custards or cream pies.
6. Can I double this recipe?
Absolutely, just be sure to chill the dough in portions for easier handling.
7. How do I get a flaky crust?
Keep the butter cold and avoid overmixing the dough.
8. What can I do with leftover scraps?
Bake them into cookies, crisps, or mini pies.
9. Can I make this crust vegan?
Yes, replace butter with plant-based margarine or shortening.
10. What’s the best dish to use?
A glass pie dish helps you monitor browning for even baking.
Conclusion
There’s nothing quite like the comfort of a homemade pie, and it all begins with the crust. My grandmother’s recipe is simple, reliable, and endlessly versatile, carrying with it the warmth of tradition and the joy of baking. Next time you’re in the kitchen, take a little extra time to roll out this dough. Let me tell you, it’s worth every bite.