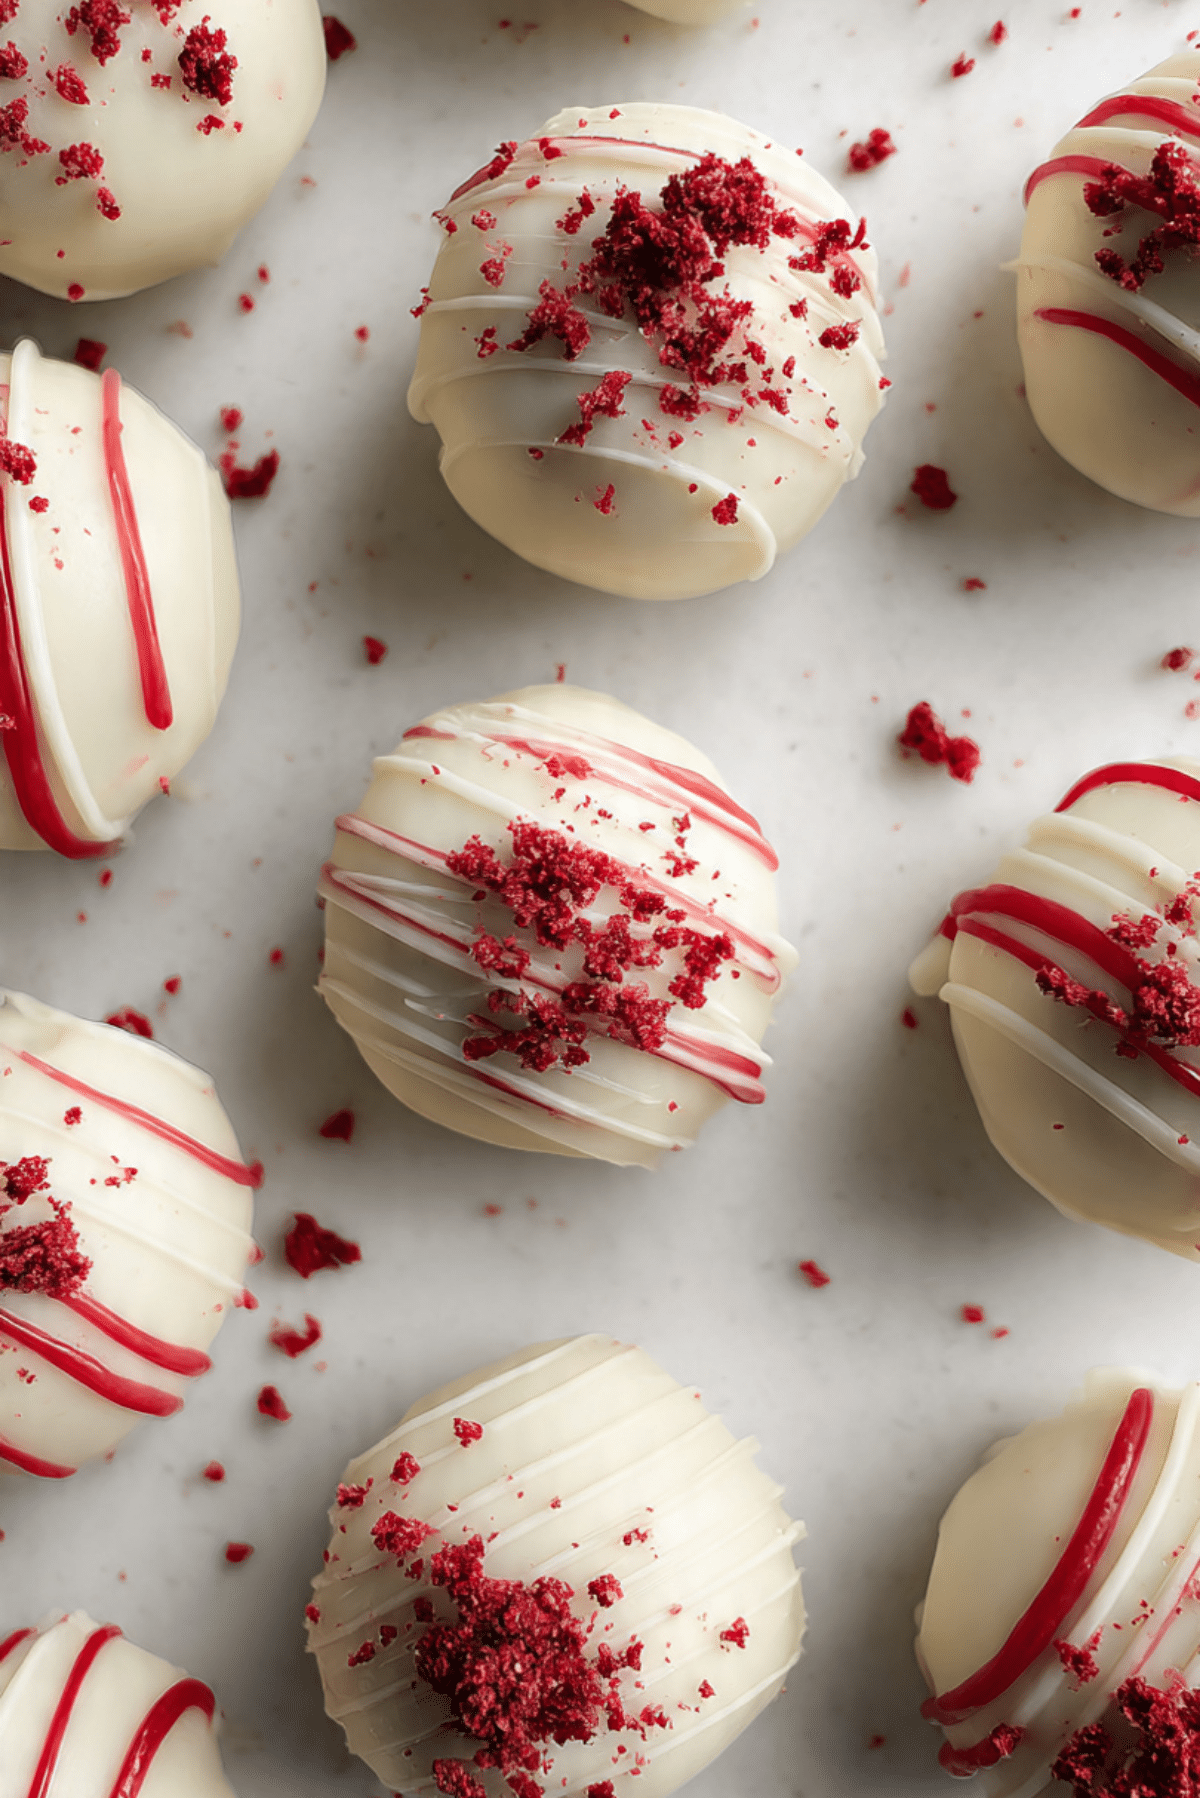
Red Velvet Cake Balls Recipe
There is something instantly joyful about red velvet cake balls. The moment you see that deep red center peeking through a creamy coating, you already know what is coming. They are rich, soft, and indulgent, yet easy enough to make that they feel like a little kitchen win every single time. Trust me, you’re going to love this, especially once you taste that classic cocoa-kissed cake mixed with tangy cream cheese and wrapped in a smooth chocolate shell.
Behind the Recipe
This recipe was born from the idea that sometimes cake is better in bite-sized form. I remember having leftover red velvet cake after a celebration and thinking it deserved a second life. Rolling it into small balls felt playful and almost therapeutic, and dipping them into melted chocolate made the whole process feel like a cozy afternoon project. One bite later, and I knew this was a total game-changer.
Recipe Origin or Trivia
Red velvet itself has a fascinating past, with roots that trace back to early American baking where cocoa was used subtly for color and flavor. Turning it into cake balls is a more modern twist, inspired by classic cake truffles that became popular at bakeries and parties. These little treats took the elegance of red velvet and made it fun, portable, and perfect for sharing.
Why You’ll Love Red Velvet Cake Balls Recipe
There is a lot to adore about these sweet bites, and once you make them, you will see why they disappear so fast.
Versatile: They fit right in at birthdays, holidays, potlucks, or even as a sweet afternoon treat with coffee.
Budget-Friendly: Simple pantry ingredients and leftover cake make this recipe easy on the wallet.
Quick and Easy: No fancy techniques here, just mix, roll, and dip.
Customizable: You can switch coatings or decorations to match any occasion.
Crowd-Pleasing: That classic red velvet flavor paired with cream cheese is always a hit.
Make-Ahead Friendly: These can be prepared in advance and chilled until needed.
Great for Leftovers: Perfect for transforming extra cake into something new and exciting.
Chef’s Pro Tips for Perfect Results
Before we get rolling, let me share a few insider tricks that make these cake balls truly shine. A little patience and attention to texture go a long way here, and once you nail it, every batch comes out bakery-worthy.
Kitchen Tools You’ll Need
Having the right tools makes the process smooth and enjoyable.
Mixing Bowl: Large enough to crumble and mix the cake evenly.
Spatula: Helps blend the cake and cream cheese into a smooth mixture.
Baking Sheet: Used to chill the cake balls before coating.
Parchment Paper: Prevents sticking and keeps cleanup easy.
Microwave-Safe Bowl: Ideal for melting chocolate smoothly.
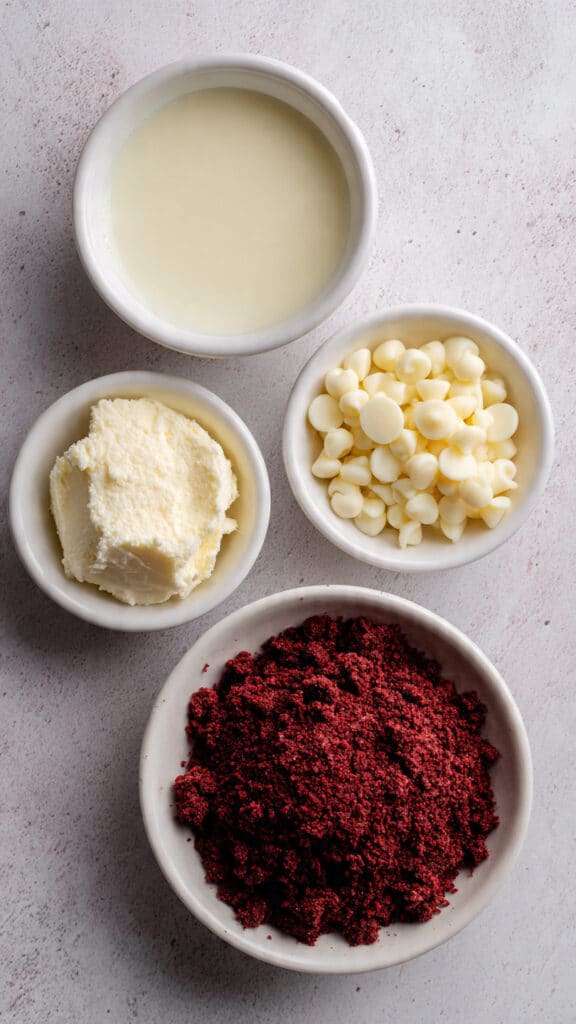
Ingredients in Red Velvet Cake Balls Recipe
This recipe works because every ingredient plays its part, coming together in a balance of sweetness, tang, and richness that feels just right.
- Red Velvet Cake: 400 g, fully baked and cooled, which provides the soft, cocoa-kissed base.
- Cream Cheese: 120 g, softened, adding tanginess and binding the crumbs into a smooth mixture.
- White Chocolate Chips: 300 g, melted, creating a creamy and sweet outer shell.
- Vanilla Extract: 1 teaspoon, enhancing the overall flavor and aroma.
- Red Velvet Crumbs: 2 tablespoons, optional, used for decoration and extra texture.
Ingredient Substitutions
Sometimes you need a quick swap, and that is perfectly fine.
Cream Cheese: Mascarpone can be used for a milder, creamier flavor.
White Chocolate Chips: Milk chocolate or dark chocolate work well for a richer coating.
Vanilla Extract: Almond extract can add a subtle nutty note.
Ingredient Spotlight
Red Velvet Cake: This cake is known for its tender crumb and subtle cocoa flavor, which makes it perfect for blending into smooth cake balls.
Cream Cheese: The slight tang balances the sweetness and gives the mixture its signature truffle-like texture.
Instructions for Making Red Velvet Cake Balls Recipe
Now let’s dive into the fun part. These steps are simple, relaxing, and honestly quite satisfying from start to finish.
- Preheat Your Equipment: There is no oven needed here, but clear space in your fridge or freezer to chill the cake balls later.
- Combine Ingredients: Crumble the red velvet cake into a large bowl, add the softened cream cheese and vanilla extract, then mix until fully combined and smooth.
- Prepare Your Cooking Vessel: Line a baking sheet with parchment paper to hold the rolled cake balls.
- Assemble the Dish: Scoop and roll the mixture into evenly sized balls, about 2.5 cm each, and place them on the prepared baking sheet.
- Cook to Perfection: Chill the cake balls in the refrigerator for 30 minutes until firm.
- Finishing Touches: Melt the white chocolate chips, dip each chilled cake ball until fully coated, then return them to the parchment paper and sprinkle with red velvet crumbs if using.
- Serve and Enjoy: Let the coating set completely before serving or storing.
Texture & Flavor Secrets
The magic here is all about contrast. Inside, the cake balls stay soft, moist, and slightly tangy from the cream cheese. Outside, the chocolate coating adds a gentle snap that melts smoothly on the tongue. As they rest, the flavors meld together, making each bite richer and more balanced than the last.
Cooking Tips & Tricks
A few small tips can make a big difference.
- Chill the cake balls well before dipping to keep them from falling apart.
- Melt the chocolate slowly to avoid overheating.
- Use a fork or skewer for dipping to get an even coating.
What to Avoid
Even simple recipes have a few pitfalls.
- Do not use warm cake, as it can make the mixture greasy.
- Avoid adding too much cream cheese, which can make rolling difficult.
- Do not rush the chilling step, as it helps everything hold its shape.
Nutrition Facts
Servings: 20 cake balls
Calories per serving: 180
Note: These are approximate values.
Preparation Time
Prep Time: 20 minutes
Cook Time: 10 minutes
Total Time: 30 minutes
Make-Ahead and Storage Tips
These cake balls are perfect for planning ahead. You can make and roll them a day in advance, then coat them when ready. Store finished cake balls in an airtight container in the refrigerator for up to 5 days. They also freeze beautifully for up to 2 months, just thaw in the fridge before serving.
How to Serve Red Velvet Cake Balls Recipe
Serve them chilled for a firmer bite or slightly softened for a creamier texture. They look stunning arranged on a dessert platter, tucked into mini cupcake liners, or packaged as edible gifts.
Creative Leftover Transformations
If you have extra cake balls, crumble them over ice cream, layer them into dessert jars, or skewer them on sticks for cake pops.
Additional Tips
For extra flair, drizzle with contrasting chocolate or add festive sprinkles. Keeping decorations simple often lets that bold red color shine the most.
Make It a Showstopper
Presentation matters, and these shine with minimal effort. Use clean white plates, neat spacing, and let the color contrast do the talking.
Variations to Try
- Coat with dark chocolate for a richer flavor.
- Add a pinch of cocoa powder to the cake mixture for deeper chocolate notes.
- Mix in a little citrus zest for brightness.
- Decorate with themed sprinkles for holidays.
FAQ’s
1. Can I use store-bought cake?
Yes, store-bought red velvet cake works perfectly and saves time.
2. Do these need to stay refrigerated?
Yes, because of the cream cheese, refrigeration is recommended.
3. Can I freeze red velvet cake balls?
Absolutely, they freeze very well for later enjoyment.
4. Why are my cake balls too soft?
They may need more chilling time before coating.
5. Can I use flavored chocolate for coating?
Yes, flavored melts can add fun variety.
6. How do I get smooth coatings?
Make sure the chocolate is fully melted and the balls are cold.
7. Can kids help make these?
Definitely, rolling the balls is a fun and safe task for kids.
8. How far ahead can I make them?
Up to two days ahead when stored properly.
9. Are these very sweet?
They are balanced by the tangy cream cheese.
10. Can I make them smaller?
Yes, just adjust chilling time slightly.
Conclusion
Red velvet cake balls are one of those treats that feel special without being complicated. They are rich, playful, and deeply satisfying, and let me tell you, it’s worth every bite. Once you try them, you will find yourself making excuses to whip up another batch.
Print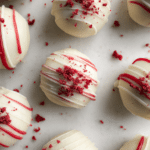
Red Velvet Cake Balls Recipe
- Total Time: 30 minutes
- Yield: 20 cake balls 1x
- Diet: Vegetarian
Description
Soft and indulgent red velvet cake balls made with crumbled cake, creamy cream cheese, and coated in smooth white chocolate. These bite-sized treats are rich, festive, and perfect for parties, gifting, or an easy dessert craving.
Ingredients
- 400 g red velvet cake, baked and cooled
- 120 g cream cheese, softened
- 300 g white chocolate chips
- 1 teaspoon vanilla extract
- 2 tablespoons red velvet crumbs (optional, for decoration)
Instructions
- Crumble the cooled red velvet cake into a large mixing bowl until fine crumbs form.
- Add the softened cream cheese and vanilla extract, then mix until the mixture becomes smooth and fully combined.
- Line a baking sheet with parchment paper.
- Roll the mixture into evenly sized balls, about 2.5 cm each, and place them on the prepared baking sheet.
- Refrigerate the cake balls for 30 minutes until firm.
- Melt the white chocolate chips gently until smooth.
- Dip each chilled cake ball into the melted white chocolate until fully coated.
- Place the coated cake balls back on the parchment paper and sprinkle with red velvet crumbs if using.
- Allow the coating to set completely before serving or storing.
Notes
- Chill the cake balls well before dipping to prevent them from falling apart.
- Melt chocolate slowly to keep it smooth and glossy.
- Store finished cake balls in an airtight container in the refrigerator.
- Prep Time: 20 minutes
- Cook Time: 10 minutes
- Category: Dessert
- Method: No-Bake
- Cuisine: American
Nutrition
- Serving Size: 1 cake ball
- Calories: 180
- Sugar: 14 g
- Sodium: 120 mg
- Fat: 10 g
- Saturated Fat: 6 g
- Unsaturated Fat: 3 g
- Trans Fat: 0 g
- Carbohydrates: 20 g
- Fiber: 1 g
- Protein: 2 g
- Cholesterol: 25 mg
Keywords: red velvet cake balls, cake truffles, red velvet dessert, no bake dessert, white chocolate cake balls