Dulce De Leche
There is something magical about slowly simmered milk and sugar transforming into a thick, golden caramel spread. Dulce De Leche feels simple at first glance, but once you taste that silky, toasted sweetness, you realize it is pure alchemy. The first time I made it from scratch, I stood over the stove watching it deepen from pale cream to rich amber. And when I dipped a spoon in, warm and glossy, I understood why it is loved around the world. Trust me, you’re going to love this.
A Silky Caramel Spread That Elevates Everything
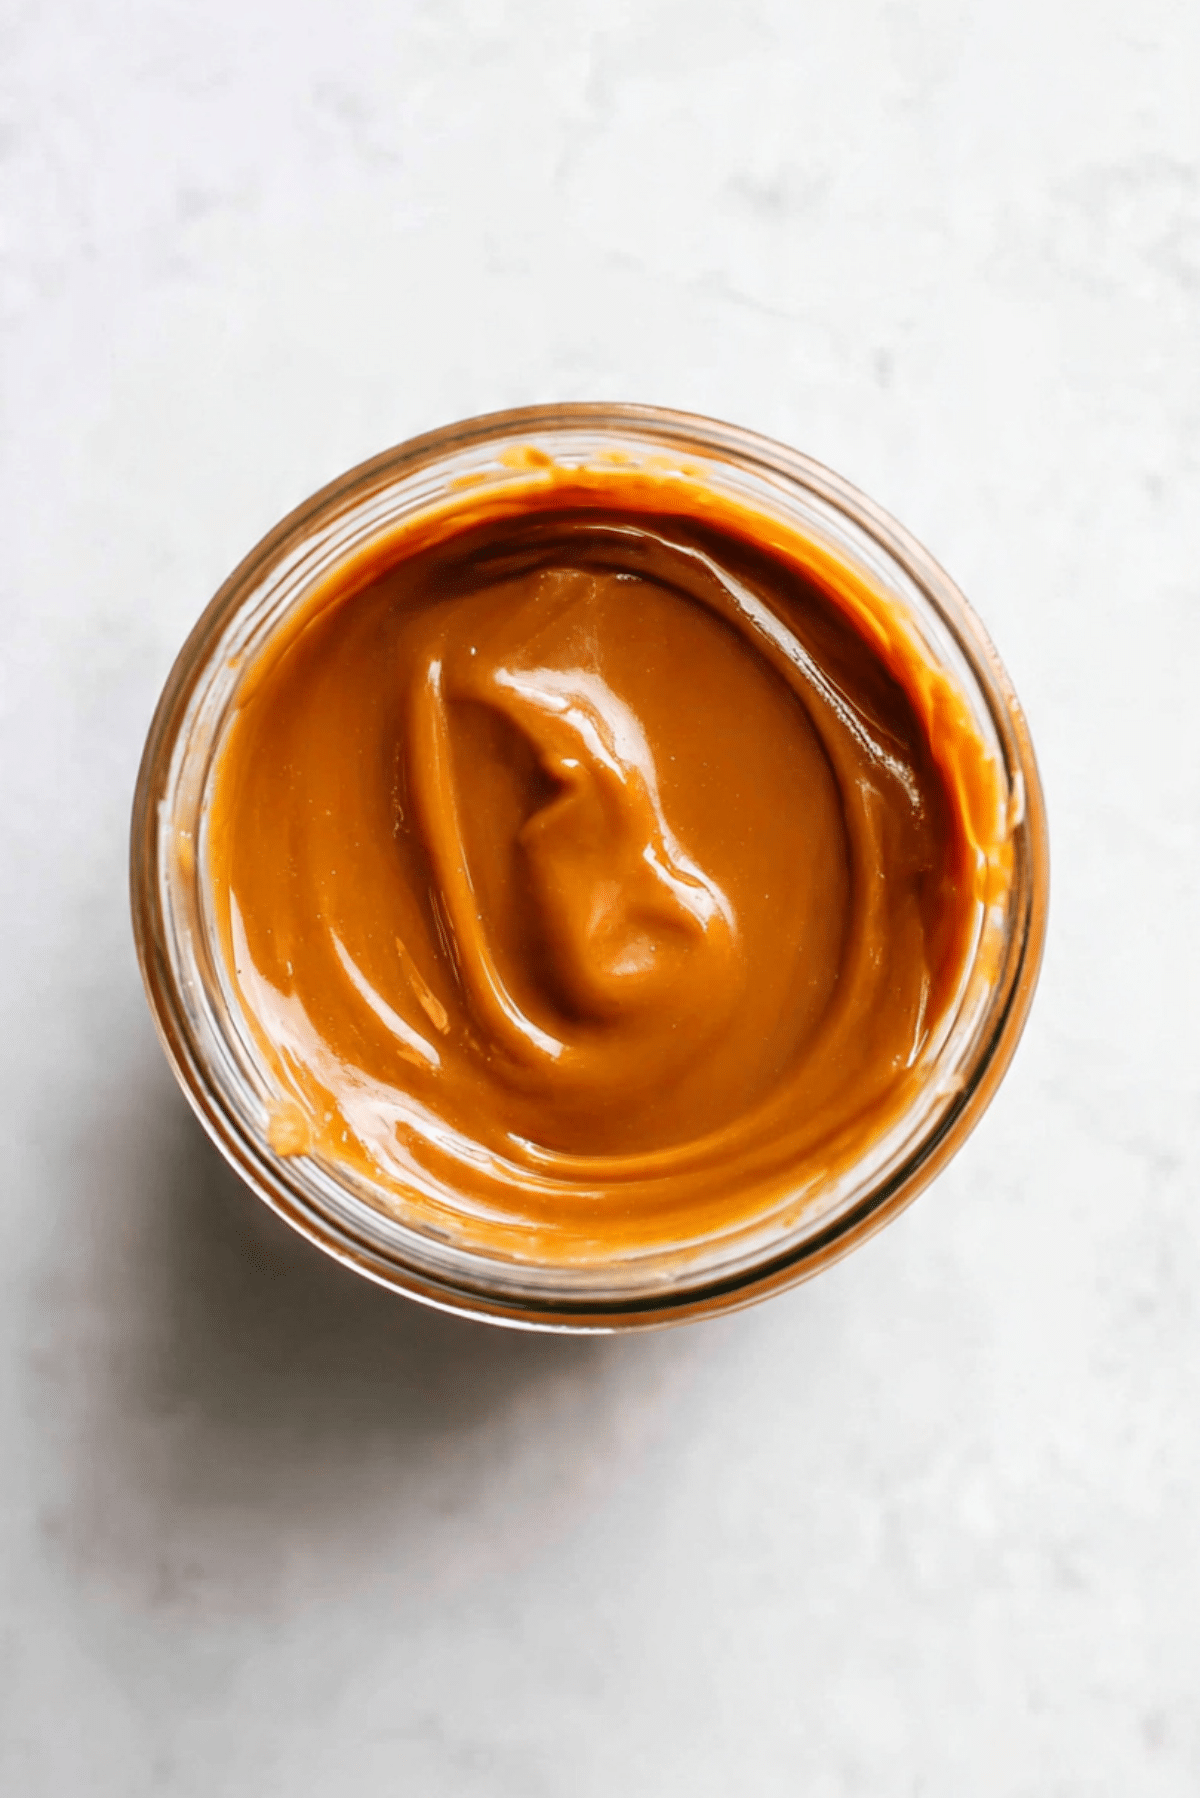
Dulce De Leche is smooth, creamy, and luxuriously sweet with subtle notes of toasted milk. It is thicker than caramel sauce and richer than condensed milk. You can spread it on toast, swirl it into brownies, drizzle it over ice cream, or eat it straight from the jar.
This one’s a total game changer when you want a homemade touch that feels indulgent but is surprisingly simple to make.
A Sweet Tradition with Latin American Roots
Dulce De Leche has deep roots in Latin American cuisine, especially in Argentina, Uruguay, and Mexico. It is commonly used in pastries, cakes, cookies, and even breakfast treats.
Traditionally made by slowly heating milk and sugar, it requires patience but very little effort. Over time, the mixture thickens and darkens through gentle cooking, developing that signature caramel flavor that feels both nostalgic and comforting.
Why You Will Want This in Your Fridge
Before we start stirring, here is why this recipe deserves a permanent spot in your kitchen.
Versatile: Use it in cakes, cookies, ice cream, or as a simple topping.
Budget Friendly: Made with basic ingredients like milk and sugar.
Quick and Easy: The steps are simple, just slow cooking and stirring.
Customizable: Adjust sweetness or thickness to your liking.
Crowd Pleasing: Sweet, creamy flavor appeals to all ages.
Make Ahead Friendly: Stores beautifully for weeks.
Great for Leftovers: Swirl into coffee, yogurt, or oatmeal.
Pro Tips for Perfect Caramelization
Let me share a few helpful secrets.
- Use a heavy bottom saucepan to prevent scorching.
- Stir occasionally at first, then more frequently as it thickens.
- Keep heat low and steady to avoid burning.
- Watch the color closely toward the end of cooking.
Essential Tools for Success
A few simple tools make all the difference.
Heavy Bottom Saucepan: Ensures even heat distribution.
Wooden Spoon or Silicone Spatula: For steady stirring.
Measuring Cups: For accurate proportions.
Glass Jar: For storing once cooled.
Ingredients That Create That Golden Magic
Simple ingredients, powerful transformation.
- Whole Milk: 4 cups, provides richness and creamy base.
- Granulated Sugar: 1 1/4 cups, sweetens and caramelizes.
- Baking Soda: 1/4 teaspoon, helps with browning and smooth texture.
- Vanilla Extract: 1 teaspoon, enhances flavor.
- Salt: 1/4 teaspoon, balances sweetness.
Simple Ingredient Substitutions
Flexibility is always helpful.
Whole Milk: Can be replaced with 2 percent milk, though richness may vary.
Granulated Sugar: Light brown sugar adds deeper caramel notes.
Vanilla Extract: Optional, but recommended for warmth.
Spotlight on the Star Ingredient
Whole Milk: The heart of this recipe. As it cooks down slowly, the milk sugars caramelize and thicken, creating that signature smooth and glossy texture.
Let’s Make It Together
Alright, and now let’s dive into the process step by step.
- Preheat Your Equipment: No oven needed. Place a heavy bottom saucepan on the stove over medium heat.
- Combine Ingredients: Add milk and sugar to the saucepan and stir until sugar dissolves.
- Prepare Your Cooking Vessel: Bring mixture to a gentle simmer, then stir in baking soda.
- Assemble the Dish: Reduce heat to low and let simmer gently. Stir occasionally at first.
- Cook to Perfection: Continue simmering for 60 to 90 minutes, stirring more frequently as the mixture thickens. Cook until deep golden brown and thick enough to coat the back of a spoon.
- Finishing Touches: Remove from heat and stir in vanilla extract and salt. Let cool completely, it will thicken further as it cools.
- Serve and Enjoy: Transfer to a clean jar and use as desired.
The Texture and Flavor Experience
When warm, it is silky and pourable. As it cools, it becomes thick and spreadable. The flavor is deeply sweet with subtle toasted notes and a hint of warmth from vanilla. It feels luxurious and comforting all at once.
Helpful Tips for Best Results
A few extra reminders for success.
- Keep heat low to prevent scorching.
- Stir frequently near the end of cooking.
- If lumps form, whisk gently while warm.
What to Avoid During Cooking
Small details matter here.
- Do not rush the process with high heat.
- Avoid walking away for too long.
- Do not skip stirring once it thickens.
Nutrition Facts
Servings: 16 servings
Calories per serving: 120
Note: These values are approximate.
Preparation Time
Prep Time: 5 minutes
Cook Time: 90 minutes
Total Time: 95 minutes
Make Ahead and Storage Tips
Store in an airtight glass jar in the refrigerator for up to 2 weeks. It thickens when chilled. Warm gently before using if you prefer a softer texture.
How to Serve
Spread on toast, pancakes, or waffles. Drizzle over ice cream. Fill sandwich cookies or swirl into brownies. Stir a spoonful into coffee for a sweet twist.
Creative Leftover Transformations
Layer into parfaits with whipped cream. Swirl into cheesecake batter. Use as filling for cakes and cupcakes.
Additional Tips for Flavor Depth
Add a pinch of cinnamon for warmth. Stir in a tiny splash of heavy cream for extra richness. Taste and adjust salt slightly for balance.
Make It a Showstopper
Serve in a clear glass jar to highlight the golden color. Drizzle artistically over desserts. Pair with dark chocolate for beautiful contrast.
Variations to Try
Add a touch of espresso powder for depth.
Use brown sugar for darker flavor.
Infuse with a cinnamon stick while simmering.
Blend smooth after cooking for ultra silky texture.
FAQ’s
1. Can I use condensed milk?
Yes, but the method will differ slightly.
2. Why did mine turn grainy?
It may have cooked too quickly or not been stirred enough.
3. Can I freeze it?
Yes, freeze in airtight container for up to 3 months.
4. How thick should it be?
It should coat the back of a spoon.
5. Can I reduce sugar?
Reducing sugar may affect caramelization.
6. Why add baking soda?
It helps with browning and smooth texture.
7. Does it need constant stirring?
More frequent stirring is needed as it thickens.
8. Can I double the recipe?
Yes, use a larger saucepan.
9. How do I fix lumps?
Whisk gently while still warm.
10. Is it very sweet?
It is sweet but balanced with slight toasted depth.
Conclusion
Dulce De Leche proves that simple ingredients can create something extraordinary. The slow transformation from milk to golden caramel is almost mesmerizing, and the result is silky, rich, and endlessly versatile. Once you make it yourself and taste that homemade depth of flavor, you may never go back to store bought again. Let me tell you, it is worth every minute of stirring.
Print
Dulce De Leche
- Total Time: 95 minutes
- Yield: 16 servings 1x
- Diet: Vegetarian
Description
Smooth and rich homemade dulce de leche made by slowly simmering milk and sugar until thick, golden, and caramelized. Perfect for spreading, drizzling, or swirling into your favorite desserts.
Ingredients
- 4 cups whole milk
- 1 1/4 cups granulated sugar
- 1/4 teaspoon baking soda
- 1 teaspoon vanilla extract
- 1/4 teaspoon salt
Instructions
- In a heavy bottom saucepan combine whole milk and granulated sugar. Stir over medium heat until the sugar fully dissolves.
- Bring the mixture to a gentle simmer and stir in the baking soda.
- Reduce heat to low and allow the mixture to simmer gently, stirring occasionally at first.
- Continue cooking for 60 to 90 minutes, stirring more frequently as the mixture thickens and darkens.
- Cook until the mixture turns a deep golden brown and is thick enough to coat the back of a spoon.
- Remove from heat and stir in vanilla extract and salt.
- Allow to cool completely, it will thicken further as it cools.
- Transfer to a clean glass jar and refrigerate until ready to use.
Notes
- Use a heavy bottom saucepan to prevent scorching.
- Stir frequently toward the end of cooking to avoid burning.
- If small lumps form, whisk gently while still warm.
- Store in the refrigerator for up to 2 weeks.
- Prep Time: 5 minutes
- Cook Time: 90 minutes
- Category: Dessert
- Method: Simmering
- Cuisine: Latin American
Nutrition
- Serving Size: 1 tablespoon
- Calories: 120
- Sugar: 18g
- Sodium: 35mg
- Fat: 3g
- Saturated Fat: 2g
- Unsaturated Fat: 1g
- Trans Fat: 0g
- Carbohydrates: 20g
- Fiber: 0g
- Protein: 3g
- Cholesterol: 10mg
Keywords: dulce de leche, homemade caramel spread, milk caramel, Latin American dessert, caramel sauce