Classic Beef Rissoles
There’s something deeply comforting about a plate of homemade beef rissoles sizzling in a pan. The aroma of browned onions and juicy beef filling the kitchen feels like a warm hug from childhood. These little patties are crisp on the outside, tender inside, and bursting with savory goodness that pairs perfectly with creamy mashed potatoes and peas. Trust me, this is one of those recipes that feels like home with every bite.
Behind the Recipe
This recipe takes me back to family dinners where the table was simple, yet every plate felt special. Classic Beef Rissoles were a weekly tradition, often served on busy weeknights because they were quick, hearty, and everyone loved them. The best part was always that first slice into the golden crust revealing the soft, juicy center. It’s one of those nostalgic recipes that never really leave you.
Recipe Origin or Trivia
Rissoles are a beloved part of Australian and British home cooking, though their roots trace back to France. The name “rissole” comes from the French word rissoler, meaning to brown or fry until crispy. Over the years, they’ve evolved from fancy pastry-wrapped creations into the down-to-earth pan-fried patties we adore today, often made with leftover mince and pantry staples.
Why You’ll Love Classic Beef Rissoles
These rissoles are the kind of dish that win hearts easily. Let’s see why they’re so special.
Versatile: You can serve them with mashed potatoes, tuck them into sandwiches, or even slice them cold for lunch boxes.
Budget-Friendly: Made from simple pantry ingredients and affordable ground beef.
Quick and Easy: Ready in under an hour, perfect for busy weeknights.
Customizable: Add grated veggies, herbs, or a bit of cheese for your own twist.
Crowd-Pleasing: Everyone from kids to adults loves their crispy exterior and juicy center.
Make-Ahead Friendly: Mix the mince earlier in the day and cook when ready.
Great for Leftovers: They reheat beautifully or can be turned into new dishes.
Chef’s Pro Tips for Perfect Results
Cooking the perfect rissole is all about balance and texture. Here are some insider tips to make them amazing.
- Use fresh breadcrumbs: They hold moisture better and keep your rissoles tender.
- Don’t overmix: Just combine until everything sticks together to avoid tough patties.
- Chill before frying: Letting them rest in the fridge for 15 minutes helps them keep their shape.
- Sear first, then lower heat: This ensures a golden crust without burning.
- Add a dash of Worcestershire sauce: It deepens the flavor beautifully.
Kitchen Tools You’ll Need
Before diving in, gather your tools to make cooking smoother.
- Large mixing bowl: For combining all ingredients evenly.
- Frying pan or skillet: To achieve that perfect golden crust.
- Spatula: Helps flip the rissoles without breaking them.
- Measuring cups and spoons: For accuracy in flavor balance.
- Plate with paper towels: To drain any excess oil after frying.
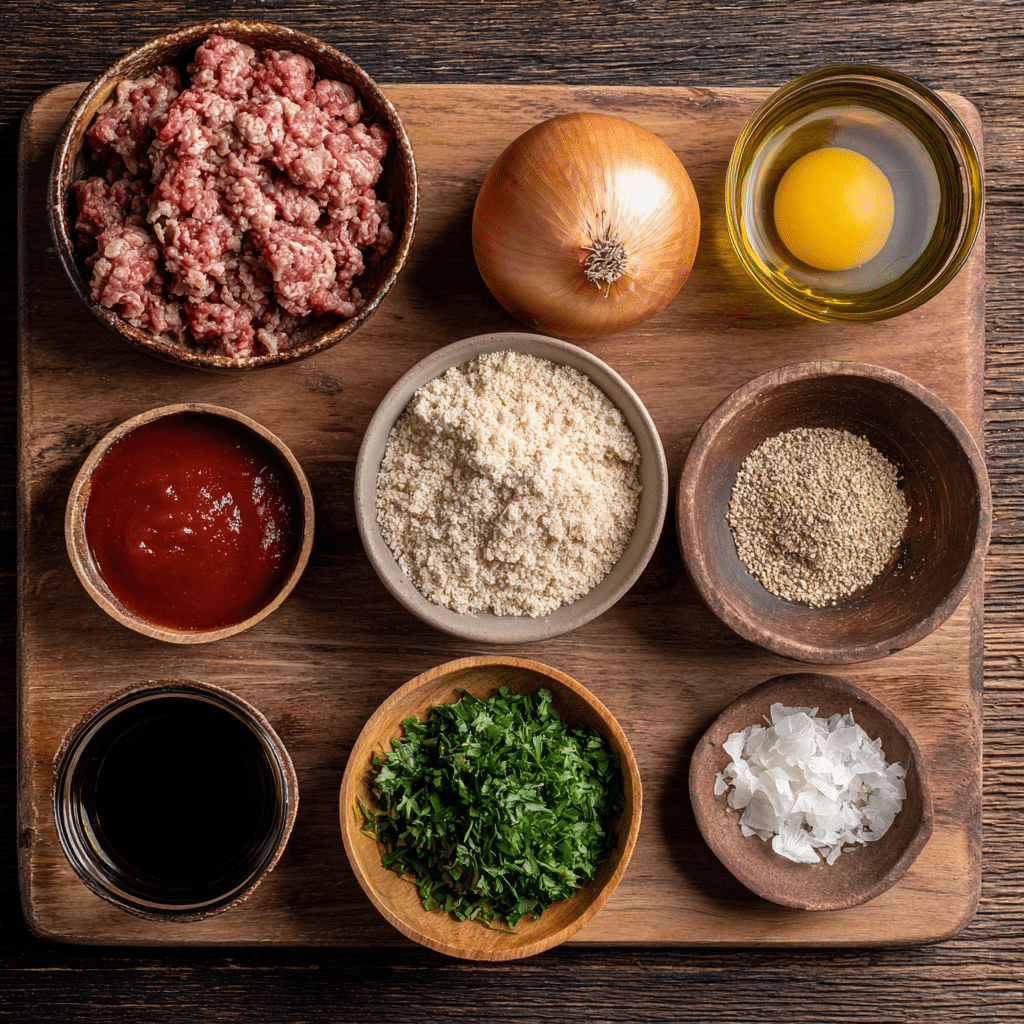
Ingredients in Classic Beef Rissoles
The magic of rissoles lies in how simple ingredients come together to make something extraordinary.
- Ground Beef: 500 g, provides rich, meaty flavor and juicy texture.
- Brown Onion: 1 medium, finely chopped for sweetness and depth.
- Garlic Cloves: 2, minced to enhance the savory aroma.
- Fresh Breadcrumbs: 1 cup, for moisture and structure.
- Egg: 1 large, acts as a binder to hold everything together.
- Worcestershire Sauce: 1 tablespoon, adds a punch of umami.
- Tomato Sauce (Ketchup): 2 tablespoons, balances the flavors with mild sweetness.
- Salt: 1 teaspoon, for seasoning.
- Black Pepper: ½ teaspoon, freshly cracked for subtle heat.
- Parsley: 2 tablespoons, chopped for freshness.
- Olive Oil: 2 tablespoons, for frying to golden perfection.
Ingredient Substitutions
Cooking should always be flexible, so here are some handy swaps.
Ground Beef: Use ground turkey or chicken for a lighter version.
Breadcrumbs: Replace with crushed crackers or oats.
Worcestershire Sauce: Soy sauce works well in a pinch.
Parsley: Swap with coriander or mixed dried herbs.
Tomato Sauce: Try BBQ sauce for a smoky twist.
Ingredient Spotlight
Ground Beef: The heart of the recipe, it provides that classic rich flavor and satisfying texture that defines rissoles.
Worcestershire Sauce: A secret weapon that adds deep savory notes and brings all ingredients together.
Instructions for Making Classic Beef Rissoles
Now let’s get cooking. Here are the steps you’ll follow to make these perfectly golden patties.
- Preheat Your Equipment: Heat a large skillet over medium heat and drizzle a bit of olive oil to coat the base.
- Combine Ingredients: In a bowl, mix ground beef, onion, garlic, breadcrumbs, egg, tomato sauce, Worcestershire sauce, parsley, salt, and pepper until just combined.
- Prepare Your Cooking Vessel: Lightly oil your hands, then shape the mixture into evenly sized balls and flatten them slightly into patties.
- Assemble the Dish: Lay the rissoles on a plate, cover, and refrigerate for 15 minutes to help them firm up.
- Cook to Perfection: Fry the rissoles in batches for about 4–5 minutes on each side until golden brown and cooked through.
- Finishing Touches: Drain briefly on paper towels to remove excess oil.
- Serve and Enjoy: Serve hot with mashed potatoes, peas, and a drizzle of gravy or sauce.
Texture & Flavor Secrets
The charm of a good rissole lies in contrast. You get that crispy, caramelized exterior followed by a juicy, tender interior that practically melts in your mouth. The breadcrumbs lock in moisture, while the onion and garlic create that irresistible aroma that fills the kitchen long before the first bite.
Cooking Tips & Tricks
Cooking rissoles should feel easy and rewarding. Keep these in mind:
- Use medium heat to avoid burning while ensuring even cooking.
- Flatten patties slightly so they cook evenly.
- Let them rest for a few minutes before serving to retain juices.
What to Avoid
Even the simplest recipes can have small pitfalls, so here’s what to steer clear of:
- Overmixing the mince mixture, which makes rissoles tough.
- Using dry breadcrumbs that soak up too much moisture.
- Crowding the pan, as it prevents proper browning.
Nutrition Facts
Servings: 4
Calories per serving: Approximately 320
Note: These are approximate values and may vary based on ingredients used.
Preparation Time
Prep Time: 15 minutes
Cook Time: 20 minutes
Total Time: 35 minutes
Make-Ahead and Storage Tips
You can prepare the mixture a day in advance and store it covered in the fridge. Cooked rissoles last up to 3 days in the refrigerator or 2 months in the freezer. To reheat, warm them in a skillet or oven until heated through, keeping their crispness intact.
How to Serve Classic Beef Rissoles
Serve these beauties with mashed potatoes and peas for the classic touch. You can also pop them into soft rolls with lettuce and tomato for quick burgers, or slice them cold for next-day lunchboxes.
Creative Leftover Transformations
Leftover rissoles are perfect for new meals:
- Crumble into pasta sauce for an easy dinner.
- Slice and use in sandwiches with relish.
- Chop and mix into fried rice for a hearty twist.
Additional Tips
For an extra burst of flavor, add a spoon of mustard or grated carrot to the mix. If you prefer a gluten-free version, use gluten-free breadcrumbs and Worcestershire sauce alternatives.
Make It a Showstopper
Garnish your plate with a sprinkle of fresh herbs and serve with a side of colorful vegetables. A touch of gravy or a drizzle of spicy tomato chutney makes it look like it came straight from a cozy countryside bistro.
Variations to Try
- Cheesy Rissoles: Add grated cheddar to the mixture for gooey centers.
- Herb Lovers: Use mixed herbs and thyme for extra fragrance.
- Spicy Version: Add a pinch of chili flakes or paprika.
- Vegetable Boost: Mix in grated zucchini or carrots.
- Mini Rissoles: Make bite-sized versions for parties or picnics.
FAQ’s
1. Can I bake rissoles instead of frying them?
Yes, bake at 200°C for 20–25 minutes, flipping halfway for even browning.
2. Can I use lamb mince instead of beef?
Absolutely, it gives a rich and slightly gamey flavor.
3. How do I stop them from falling apart?
Make sure the mixture isn’t too wet, and always include an egg and breadcrumbs.
4. Can I freeze raw rissoles?
Yes, freeze them uncooked between parchment layers for up to 2 months.
5. What’s the best oil for frying?
Olive oil or vegetable oil both work well for even browning.
6. Can I add vegetables to the mix?
Yes, grated carrots or zucchini add moisture and extra nutrients.
7. Why are my rissoles tough?
They may have been overmixed or overcooked; gentle handling helps.
8. Can I make them gluten-free?
Use gluten-free breadcrumbs and sauces.
9. How can I make them dairy-free?
This recipe is naturally dairy-free unless cheese is added.
10. What side dishes go best?
Mashed potatoes, peas, roasted vegetables, or even a crisp salad.
Conclusion
Classic Beef Rissoles are the kind of meal that brings everyone to the table with smiles. They’re simple, satisfying, and filled with homely flavors that never go out of style. Whether you’re cooking for family, friends, or just yourself, these golden beauties promise comfort in every bite. Give them a try tonight, and let your kitchen fill with that irresistible aroma of pure home cooking.
Print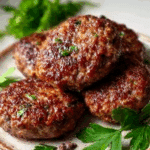
Classic Beef Rissoles
- Total Time: 35 minutes
- Yield: 4 servings
- Diet: Halal
Description
These Classic Beef Rissoles are golden on the outside, juicy on the inside, and full of homely flavor. A comforting dish perfect for family dinners or meal prep, served best with creamy mashed potatoes and peas.
Ingredients
- Ground Beef: 500 g, provides rich, meaty flavor and juicy texture.
- Brown Onion: 1 medium, finely chopped for sweetness and depth.
- Garlic Cloves: 2, minced to enhance the savory aroma.
- Fresh Breadcrumbs: 1 cup, for moisture and structure.
- Egg: 1 large, acts as a binder to hold everything together.
- Worcestershire Sauce: 1 tablespoon, adds a punch of umami.
- Tomato Sauce (Ketchup): 2 tablespoons, balances the flavors with mild sweetness.
- Salt: 1 teaspoon, for seasoning.
- Black Pepper: ½ teaspoon, freshly cracked for subtle heat.
- Parsley: 2 tablespoons, chopped for freshness.
- Olive Oil: 2 tablespoons, for frying to golden perfection.
Instructions
- Preheat Your Equipment: Heat a large skillet over medium heat and drizzle olive oil to coat the base.
- Combine Ingredients: In a bowl, mix ground beef, onion, garlic, breadcrumbs, egg, tomato sauce, Worcestershire sauce, parsley, salt, and pepper until just combined.
- Prepare Your Cooking Vessel: Lightly oil your hands, then shape the mixture into evenly sized balls and flatten slightly into patties.
- Assemble the Dish: Lay the rissoles on a plate, cover, and refrigerate for 15 minutes to help them firm up.
- Cook to Perfection: Fry the rissoles in batches for about 4–5 minutes on each side until golden brown and cooked through.
- Finishing Touches: Drain briefly on paper towels to remove excess oil.
- Serve and Enjoy: Serve hot with mashed potatoes, peas, and a drizzle of gravy or sauce.
Notes
- Use fresh breadcrumbs to keep the rissoles moist.
- Let them chill before frying for a firm shape.
- They reheat beautifully or can be frozen for later.
- Prep Time: 15 minutes
- Cook Time: 20 minutes
- Category: Main Course
- Method: Pan-Fried
- Cuisine: Australian
Nutrition
- Serving Size: 1 serving
- Calories: 320
- Sugar: 2 g
- Sodium: 480 mg
- Fat: 18 g
- Saturated Fat: 6 g
- Unsaturated Fat: 10 g
- Trans Fat: 0 g
- Carbohydrates: 10 g
- Fiber: 1 g
- Protein: 28 g
- Cholesterol: 90 mg
Keywords: Classic Beef Rissoles, homemade rissoles, beef patties, comfort food, Australian recipes