Lemon Bars
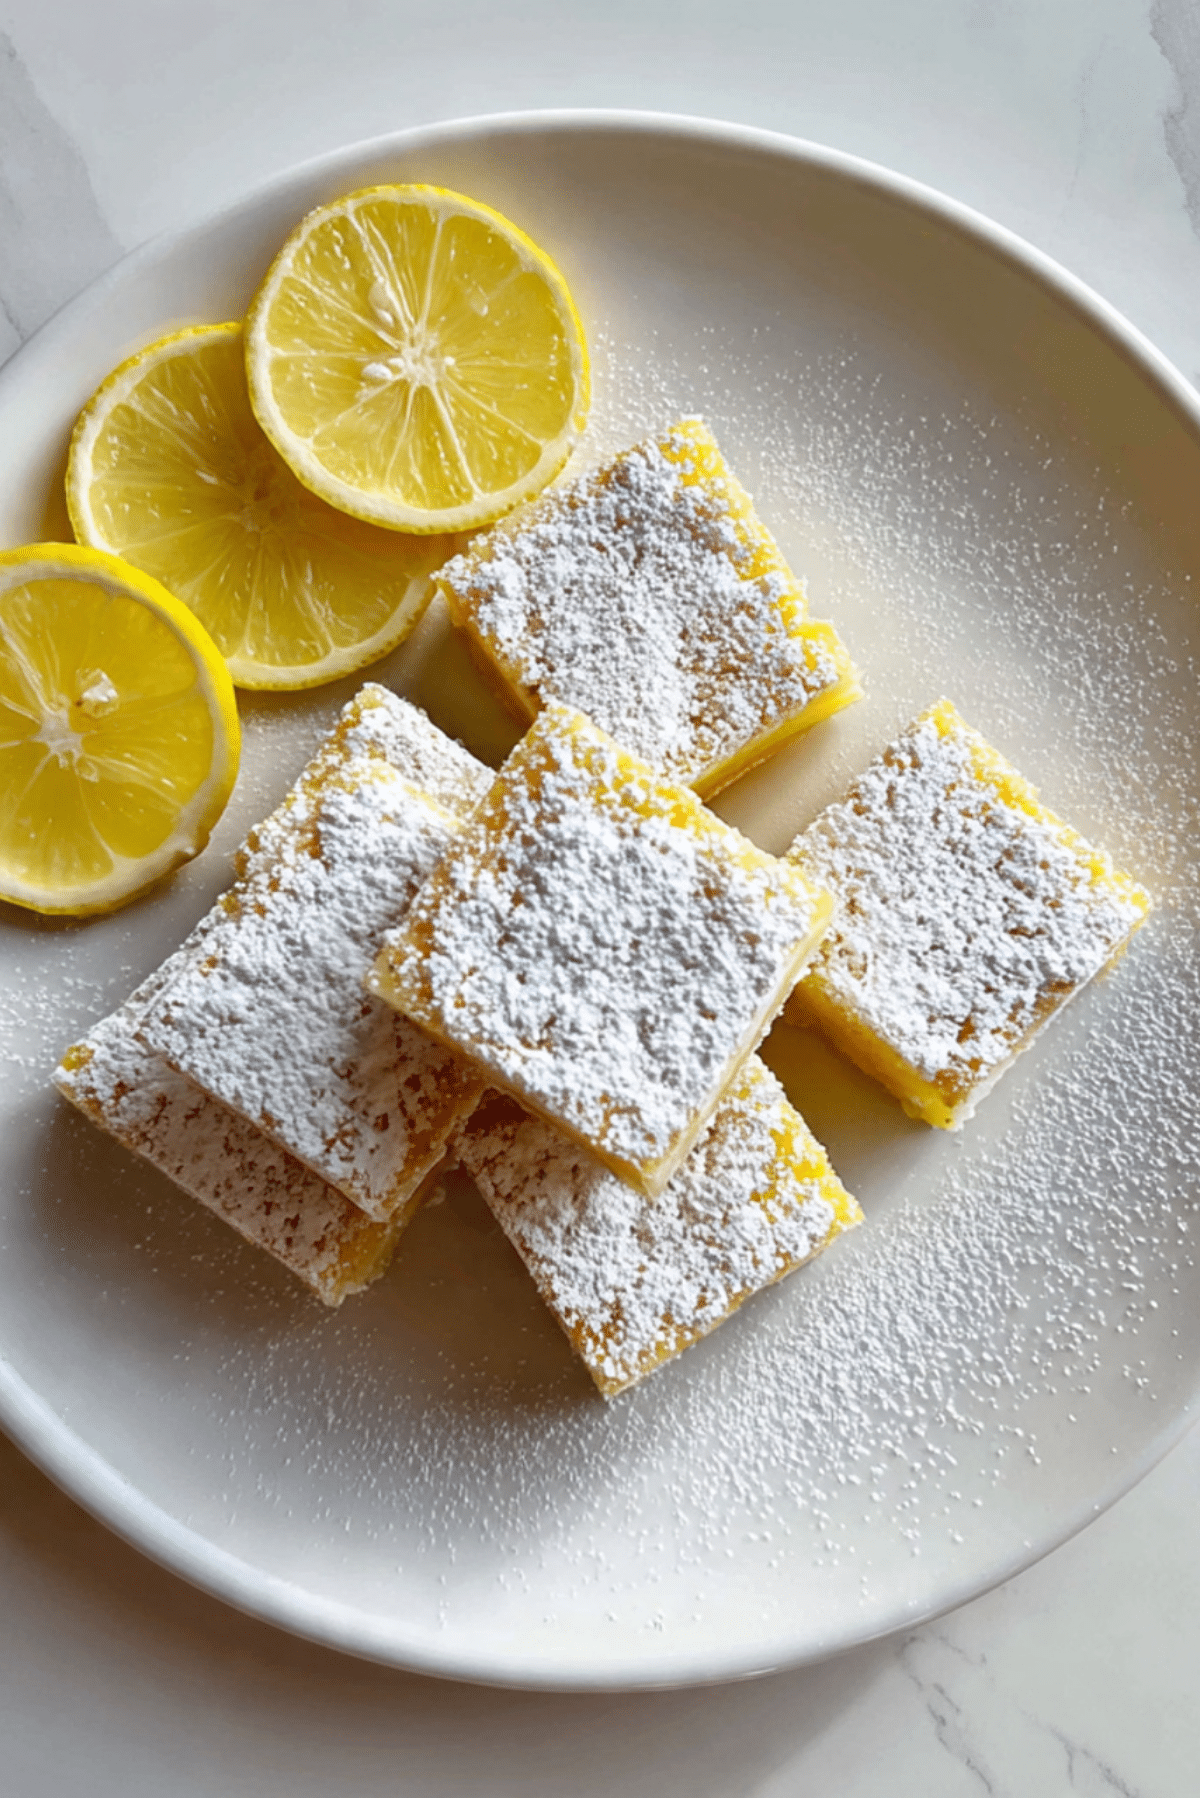
There’s something undeniably sunny about a tray of freshly baked lemon bars. That zingy citrus scent wafting from the oven, the way powdered sugar clings like a snowy dusting, and the rich yet refreshing flavor that makes every bite feel like a burst of sunshine — it’s pure dessert magic. Whether you’re making them for a picnic, a party, or just a cozy afternoon treat, lemon bars never fail to brighten the mood.
Behind the Recipe
This recipe comes from years of trial, error, and sweet successes. I remember the first time I tried making lemon bars — I went way too heavy on the crust and barely sweetened the lemon filling. But over time, I learned how to strike the perfect balance: a buttery, golden shortbread base and a luscious lemon layer with the ideal tart-to-sweet ratio. These bars became my go-to for everything from potlucks to last-minute dessert requests, and they never disappoint.
Recipe Origin or Trivia
Lemon bars as we know them gained popularity in mid-20th century America, especially during the 1960s when citrus-themed desserts were trending. Their roots, however, lie in classic lemon curd, a British creation used in tarts and pastries for centuries. The shortbread base is inspired by Scottish baking traditions, and together, they create a fusion that’s both timeless and irresistibly modern.
Why You’ll Love Lemon Bars
This dessert is more than just sweet and citrusy — it’s a little slice of happiness. Here’s why these bars are about to become your new favorite:
Versatile: Perfect for brunches, baby showers, or just because you’re craving something bright and tangy.
Budget-Friendly: Simple ingredients that are likely already in your pantry and fridge.
Quick and Easy: No fancy techniques required. Just mix, bake, and chill.
Customizable: Add a touch of zest, a berry swirl, or even a dash of spice for your own twist.
Crowd-Pleasing: Everyone loves them. Seriously. Watch them disappear at any gathering.
Make-Ahead Friendly: Bake them the day before and refrigerate overnight for the best texture.
Great for Leftovers: Store well in the fridge and still taste amazing a few days later.
Chef’s Pro Tips for Perfect Results
If you want that bakery-style finish and perfect balance of flavors, follow these insider tips:
- Use fresh lemon juice — not bottled — for that clean, tangy flavor.
- Don’t overbake the lemon filling. It should jiggle slightly in the center when done.
- Chill thoroughly before cutting. This helps the bars set and gives cleaner edges.
- Wipe your knife between cuts for picture-perfect squares.
- Dust with powdered sugar just before serving for the best presentation.
Kitchen Tools You’ll Need
Keep things simple with these kitchen staples:
Mixing Bowls: For combining the crust and filling ingredients.
9×13 Baking Dish: The ideal size for evenly baked bars.
Whisk: Crucial for getting that silky smooth lemon filling.
Citrus Juicer: Makes extracting fresh lemon juice easy and mess-free.
Fine Mesh Sieve: For dusting that signature snowy layer of powdered sugar.
Sharp Knife: For cleanly slicing through those perfect squares.
Ingredients in Lemon Bars
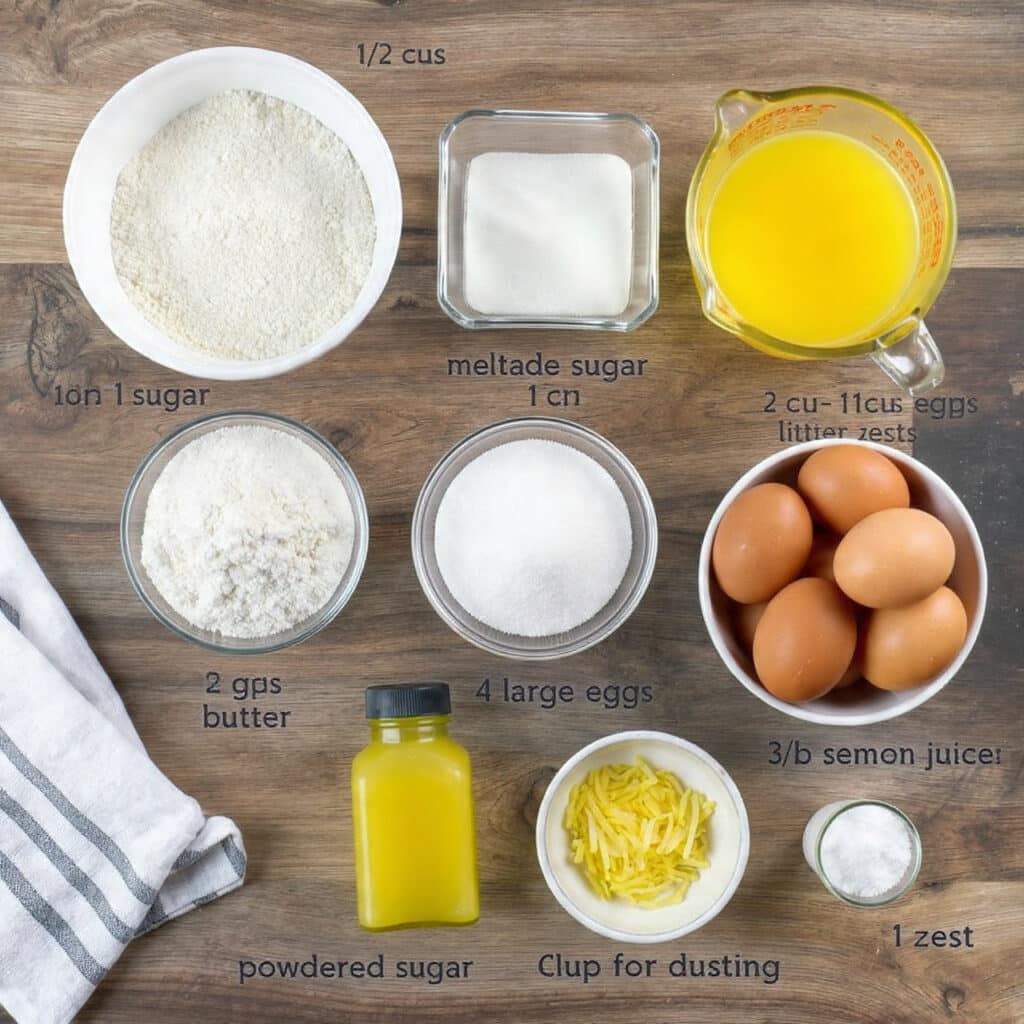
Creating the ideal lemon bar comes down to a few pantry staples working in harmony. Here’s what you’ll need:
- All-Purpose Flour: 2 cups, divided (1½ cups for crust, ½ cup for filling) – Gives structure to both the crust and filling.
- Granulated Sugar: 2 cups, divided (½ cup for crust, 1½ cups for filling) – Sweetens and balances the tart lemon.
- Salted Butter: 1 cup (2 sticks), melted – Creates that rich, tender shortbread base.
- Large Eggs: 4 – The backbone of the custard-like lemon layer.
- Fresh Lemon Juice: ¾ cup – Adds that signature bright, citrusy punch.
- Lemon Zest: 1 tablespoon – Intensifies the lemon flavor.
- Powdered Sugar: For dusting – Finishing touch that adds elegance and sweetness.
Ingredient Substitutions
Need to work with what you have? No problem — here are some easy swaps:
Salted Butter: Unsalted butter + a pinch of salt.
Fresh Lemon Juice: Bottled lemon juice in a pinch, but flavor will be less vibrant.
All-Purpose Flour: Gluten-free flour blend (1:1 ratio) for a GF version.
Powdered Sugar: Skip or replace with a light drizzle of glaze.
Ingredient Spotlight
Fresh Lemon Juice: This is what brings the magic. The acidity cuts through the sweetness and adds that unmistakable zing. Always use freshly squeezed for the best results.
Butter: Adds richness and melt-in-your-mouth texture to the shortbread crust, making the base more than just a platform for the filling — it’s a star in its own right.
Instructions for Making Lemon Bars
Baking lemon bars is a joyful process — there’s something so satisfying about watching simple ingredients turn into something so special. Here are the steps to bring your lemon bars to life:
- Preheat Your Equipment:
Preheat your oven to 350°F (175°C). Grease a 9×13 inch baking dish or line with parchment paper for easy removal. - Combine Ingredients:
In a mixing bowl, stir together 1½ cups of flour, ½ cup sugar, and melted butter until a soft dough forms. - Prepare Your Cooking Vessel:
Press the dough evenly into the bottom of the baking dish. Bake for 15–20 minutes until lightly golden. - Assemble the Dish:
While the crust is baking, whisk together eggs, 1½ cups sugar, ½ cup flour, lemon juice, and zest until smooth. - Cook to Perfection:
Pour the lemon mixture over the hot crust. Bake for an additional 20–25 minutes until set. The center should still jiggle slightly. - Finishing Touches:
Let the bars cool completely, then refrigerate for at least 2 hours. Once chilled, dust generously with powdered sugar. - Serve and Enjoy:
Slice into squares and serve chilled or at room temperature. Each bite is sweet, tangy, and totally irresistible.
Texture & Flavor Secrets
The texture is what truly makes lemon bars unforgettable. The base is buttery and tender, almost like a soft cookie, while the filling is silky, custardy, and full of bright lemon flavor. A dusting of powdered sugar adds a whisper of sweetness and contrast.
Cooking Tips & Tricks
Let’s make sure your lemon bars are the best they can be:
- Chill completely before cutting for cleaner edges.
- Zest your lemons before juicing — it’s nearly impossible to do it afterward.
- Don’t skimp on the lemon zest. It adds depth and fragrance.
- Use parchment paper to lift the bars out of the pan in one piece.
What to Avoid
Even simple recipes have their pitfalls. Watch out for these:
- Overbaking: Leads to rubbery filling. Keep an eye on the center.
- Skipping the chill: Warm bars are too soft to slice and serve.
- Using bottled juice: Lacks the punch of fresh citrus.
- Uneven crust: Press the dough flat and even for best results.
Nutrition Facts
Servings: 16
Calories per serving: 210
Note: These are approximate values.
Preparation Time
Prep Time: 15 minutes
Cook Time: 40 minutes
Total Time: 2 hours 55 minutes (includes chilling)
Make-Ahead and Storage Tips
These bars are ideal for preparing in advance. In fact, they taste even better after a night in the fridge. Store them in an airtight container, layered with parchment, for up to 5 days. You can also freeze them — just skip the powdered sugar until after thawing.
How to Serve Lemon Bars
Serve chilled or at room temperature on a platter with fresh berries or a dollop of whipped cream. They also pair beautifully with tea, coffee, or a sparkling lemonade for extra citrus flair.
Creative Leftover Transformations
If you somehow have leftovers, here’s how to reinvent them:
- Lemon Bar Parfait: Crumble and layer with whipped cream and berries.
- Ice Cream Mix-in: Chop and fold into vanilla ice cream.
- Tart Garnish: Use pieces as a topping for fruit tarts or cheesecakes.
Additional Tips
- Always use fresh lemons — the flavor difference is massive.
- To avoid a soggy crust, bake it fully before adding the filling.
- Keep a fine mesh sieve handy for an even sugar dusting.
Make It a Showstopper
Presentation counts. Arrange bars on a white cake stand, sprinkle with powdered sugar right before serving, and add a few curls of lemon zest or edible flowers for a charming, elegant look.
Variations to Try
- Berry Swirl Lemon Bars: Add raspberry puree swirls before baking.
- Lavender Lemon Bars: Infuse the sugar with dried culinary lavender.
- Meyer Lemon Bars: Use Meyer lemons for a sweeter, more floral taste.
- Coconut Crust Bars: Mix shredded coconut into the crust.
- Glazed Lemon Bars: Drizzle with lemon glaze instead of powdered sugar.
FAQ’s
Q1: Can I freeze lemon bars?
Yes. Wrap tightly and freeze up to 3 months. Thaw in the fridge and dust with powdered sugar before serving.
Q2: Can I use bottled lemon juice?
You can, but fresh lemon juice gives a much brighter, fresher flavor.
Q3: Do lemon bars need to be refrigerated?
Yes, refrigerating helps them set and keeps them fresh longer.
Q4: Why is my lemon filling runny?
It likely needed more bake time. The center should be set but still jiggle slightly.
Q5: Can I double the recipe?
Absolutely. Use a larger pan or bake in two batches.
Q6: What type of sugar is best?
Granulated for the crust and filling. Powdered for topping.
Q7: Can I make them gluten-free?
Yes, use a 1:1 gluten-free baking flour.
Q8: What’s the best way to cut clean slices?
Chill well, use a sharp knife, and wipe it clean between cuts.
Q9: How do I prevent a soggy crust?
Prebake the crust until lightly golden before adding the filling.
Q10: Can I add other flavors?
Definitely. Try vanilla, berries, or herbs like rosemary or basil.
Conclusion
Lemon bars are that perfect mix of easy, elegant, and utterly irresistible. Whether you’re baking them for guests or simply indulging in a midweek treat, they’re guaranteed to bring smiles. Trust me, you’re going to love this. Grab those lemons, and let’s bake something unforgettable.
Print
Lemon Bars
- Total Time: 2 hours 55 minutes
- Yield: 16 bars 1x
- Diet: Vegetarian
Description
Bright, tangy, and irresistibly sweet, these classic lemon bars combine a buttery shortbread crust with a luscious lemon filling — perfect for any occasion.
Ingredients
- 2 cups all-purpose flour, divided (1½ cups for crust, ½ cup for filling)
- 2 cups granulated sugar, divided (½ cup for crust, 1½ cups for filling)
- 1 cup salted butter, melted
- 4 large eggs
- ¾ cup fresh lemon juice
- 1 tablespoon lemon zest
- Powdered sugar, for dusting
Instructions
- Preheat your oven to 350°F (175°C). Grease or line a 9×13 inch baking dish with parchment paper.
- In a mixing bowl, combine 1½ cups flour, ½ cup sugar, and melted butter until dough forms.
- Press dough evenly into the prepared baking dish. Bake for 15–20 minutes until lightly golden.
- Meanwhile, whisk together eggs, 1½ cups sugar, ½ cup flour, lemon juice, and zest until smooth.
- Pour the lemon mixture over the hot crust. Bake for 20–25 minutes until set but slightly jiggly in the center.
- Cool completely, then chill for at least 2 hours.
- Dust with powdered sugar before serving. Slice into squares and enjoy.
Notes
- Use fresh lemon juice for the best flavor.
- Chill thoroughly before cutting to get clean slices.
- Zest lemons before juicing for easier prep.
- Prep Time: 15 minutes
- Cook Time: 40 minutes
- Category: Dessert
- Method: Baking
- Cuisine: American
Nutrition
- Serving Size: 1 bar
- Calories: 210
- Sugar: 24g
- Sodium: 75mg
- Fat: 9g
- Saturated Fat: 5g
- Unsaturated Fat: 3g
- Trans Fat: 0g
- Carbohydrates: 30g
- Fiber: 0.5g
- Protein: 2g
- Cholesterol: 55mg
Keywords: lemon bars, lemon dessert, shortbread crust, citrus, easy baking