No-Pain Au Chocolat
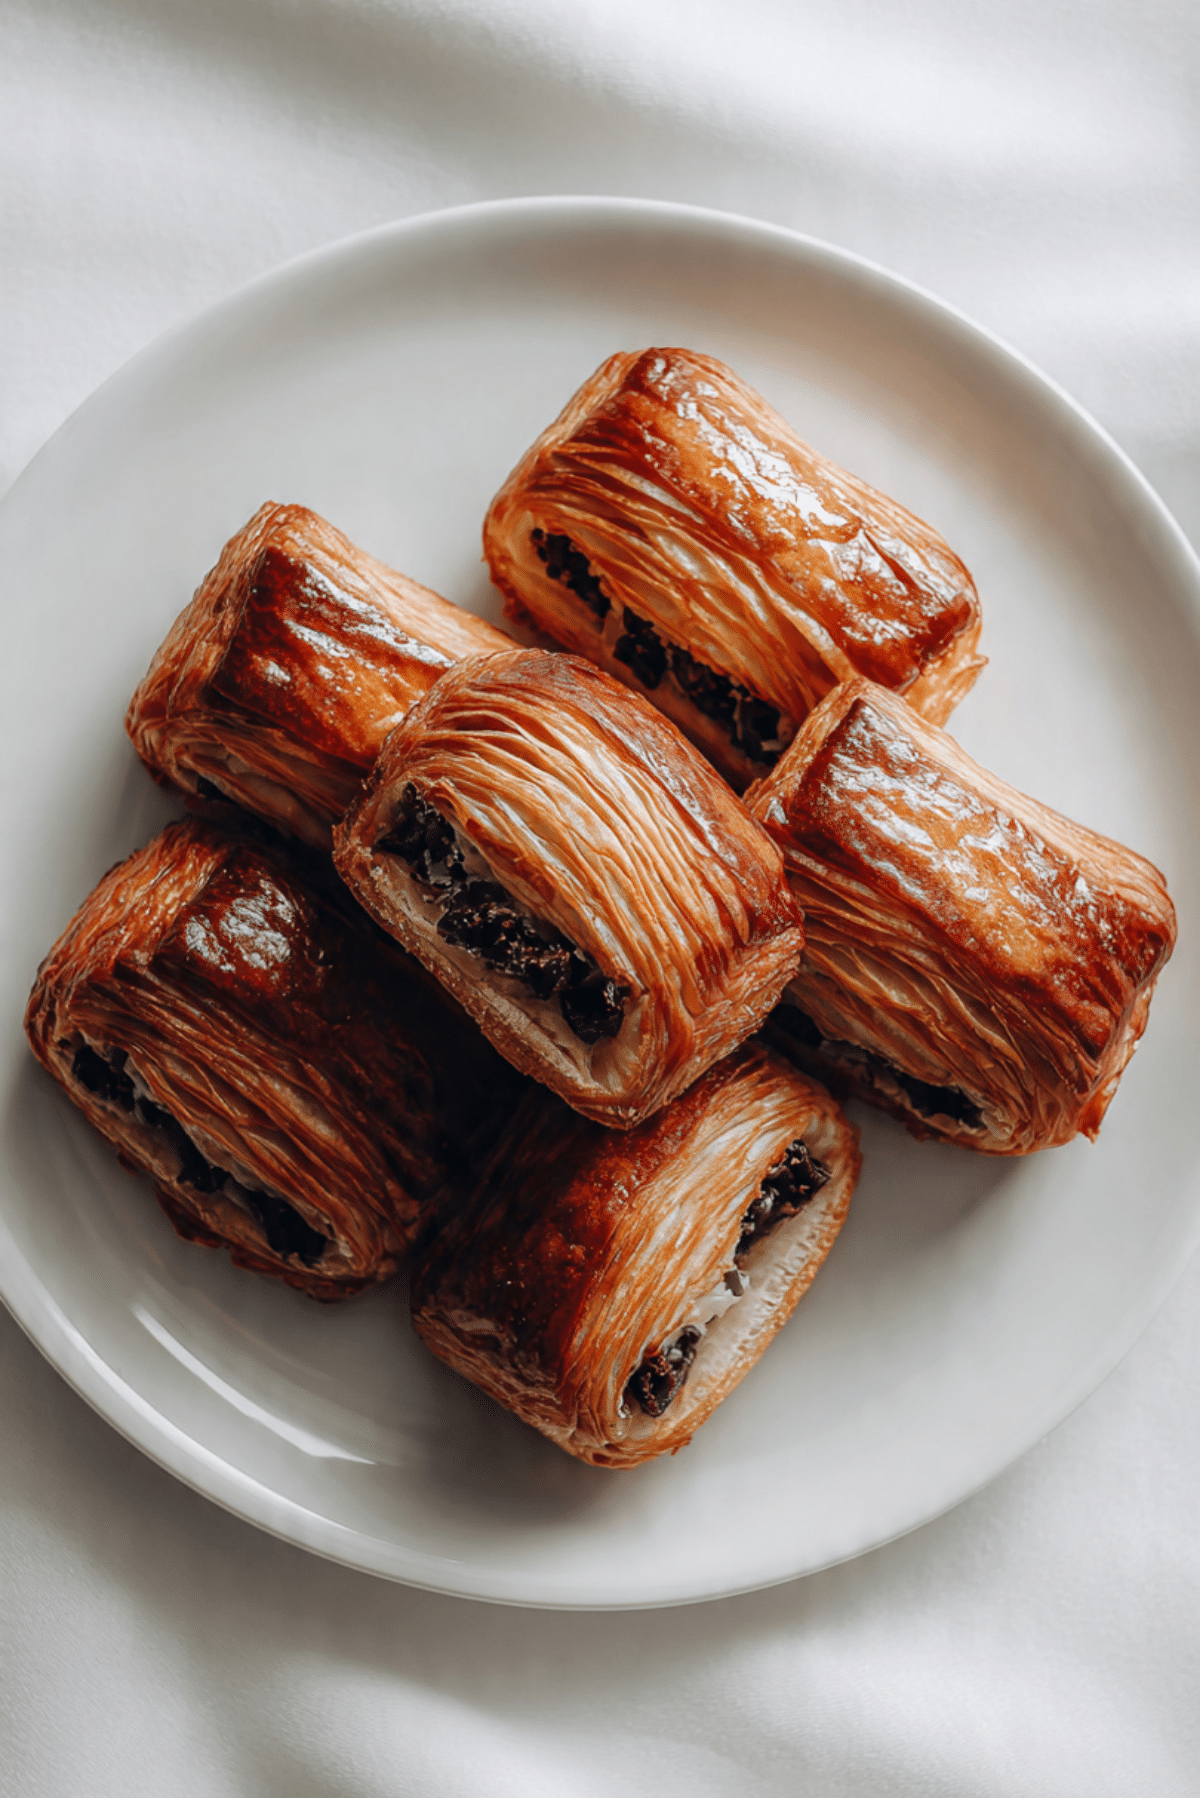
There is something almost magical about pulling a tray of golden, flaky pastries out of the oven. The scent of warm butter and melting chocolate fills the kitchen, and suddenly everything feels a little more special. No-Pain Au Chocolat gives you all that bakery style joy without the stress of making laminated dough from scratch. Trust me, you’re going to love this. It is crisp on the outside, soft in the center, and filled with rich dark chocolate that melts into every layer.
The Shortcut Pastry That Feels Like a Parisian Morning
We all love the idea of homemade pastries, but not everyone has the time for hours of folding and chilling dough. This version uses ready made puff pastry, which means you skip the complicated steps and still get those beautiful flaky layers. The result is light, buttery, and deeply satisfying. This one’s a total game changer for weekend breakfasts or brunch with friends.
A Little French Inspiration in Every Bite
Pain au chocolat comes from France, where it is a beloved breakfast pastry found in nearly every bakery. Traditionally made with laminated yeast dough, it is known for its delicate layers and simple chocolate filling. This easier approach keeps the spirit of the classic alive while making it approachable for home kitchens. You still get that elegant look and irresistible texture, just without the long preparation.
Why This Recipe Is a Keeper
Once you try it, you will see why it earns a regular spot in your kitchen.
Versatile: Serve it for breakfast, brunch, or even dessert with a scoop of vanilla ice cream.
Budget-Friendly: Made with store bought puff pastry and simple chocolate bars.
Quick and Easy: Minimal prep and no complicated dough work.
Customizable: Add a sprinkle of sugar or a touch of cinnamon if you like.
Crowd-Pleasing: Buttery pastry and melted chocolate are always a winning combination.
Make-Ahead Friendly: Assemble the pastries and refrigerate until ready to bake.
Great for Leftovers: They reheat beautifully in the oven the next day.
Pro Tips for Perfectly Flaky Pastries
Before we head into the steps, here are a few insider tips.
- Keep the puff pastry cold until you are ready to use it, this helps create better layers.
- Do not overfill with chocolate, too much can leak out during baking.
- Seal the edges gently but firmly to prevent unrolling.
- Brush with milk evenly for a golden finish.
Kitchen Tools You Will Need
Having everything ready makes the process smooth and enjoyable.
Baking Sheet: For even baking and crisp bottoms.
Parchment Paper: Prevents sticking and makes cleanup easy.
Sharp Knife or Pizza Cutter: For clean, straight cuts in the pastry.
Pastry Brush: To apply the milk wash evenly.
Ingredients You Will Need for No-Pain Au Chocolat
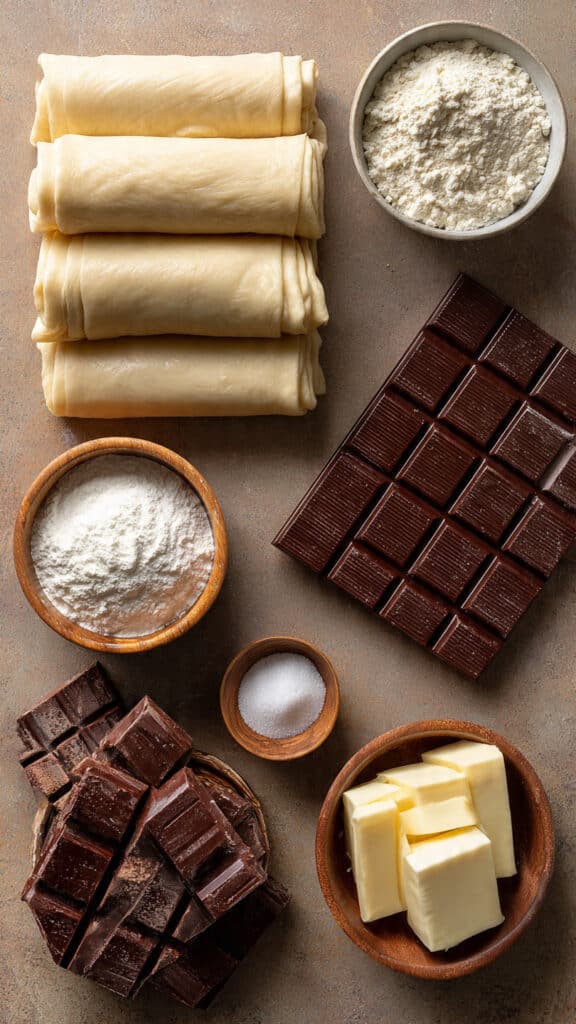
Each ingredient works together to create that flaky, chocolate filled perfection.
- Puff Pastry Sheets: 2 sheets, thawed but still cold. These create the signature flaky layers.
- Dark Chocolate Bars: 4 ounces, cut into sticks. This provides rich, melted centers.
- Milk: 2 tablespoons, for brushing the tops to achieve golden color.
- Granulated Sugar: 1 tablespoon, optional for light sweetness on top.
Easy Ingredient Swaps
If you want to adjust things slightly, here are simple ideas.
Dark Chocolate: Semi sweet chocolate for a milder flavor.
Milk: Plant based milk works just as well for brushing.
Granulated Sugar: Coarse sugar for extra crunch on top.
The Star of the Show
Puff Pastry: This ready made dough is what makes the recipe so approachable. When baked at high heat, it puffs into delicate, airy layers that feel almost professional.
Let’s Bake These Together
Now comes the fun part, turning simple ingredients into something bakery worthy.
- Preheat Your Equipment: Preheat your oven to 400 degrees Fahrenheit and line a baking sheet with parchment paper.
- Combine Ingredients: Unfold the puff pastry sheets on a lightly floured surface and cut each sheet into 6 equal rectangles.
- Prepare Your Cooking Vessel: Place a stick of dark chocolate near one short edge of each rectangle.
- Assemble the Dish: Roll the pastry tightly over the chocolate, then tuck and roll again to create a neat log. Place seam side down on the baking sheet.
- Cook to Perfection: Brush the tops lightly with milk and sprinkle with granulated sugar if using. Bake for 15 to 18 minutes until puffed and deeply golden.
- Finishing Touches: Remove from the oven and let cool for 5 minutes, allowing the chocolate to settle slightly.
- Serve and Enjoy: Serve warm while the chocolate is still soft and melted.
Texture and Flavor That Feels Indulgent
When you bite in, the outer layers crackle gently, giving way to tender, airy pastry inside. The chocolate is smooth and rich, slightly bittersweet against the buttery dough. The contrast of crisp edges and soft centers makes every bite irresistible. Let me tell you, it’s worth every bite.
Helpful Baking Tips
A few gentle reminders to keep things easy.
- Work quickly so the pastry stays cold.
- Bake on the middle rack for even browning.
- Let them cool slightly before serving to avoid overly runny chocolate.
What to Avoid for Best Results
Even simple pastries can go wrong without small adjustments.
- Do not let the puff pastry get too warm before baking.
- Avoid overbaking, which can dry out the layers.
- Do not overcrowd the baking sheet, give them space to puff.
Nutrition Snapshot
Servings: 12 pastries
Calories per serving: 220
Note: These are approximate values.
Time Breakdown
Prep Time: 15 minutes
Cook Time: 18 minutes
Total Time: 33 minutes
Make-Ahead and Storage Tips
You can assemble the pastries and refrigerate them for up to 8 hours before baking. Store leftovers in an airtight container at room temperature for one day or in the refrigerator for up to three days. Reheat in a 350 degree oven for about 5 minutes to bring back the crisp texture. Freezing before baking is also an option, just add a few extra minutes to the baking time.
Serving Ideas for Extra Charm
Serve these pastries with fresh fruit and hot coffee for a simple brunch spread. They also pair beautifully with a dusting of powdered sugar or a drizzle of melted chocolate.
Creative Leftover Transformations
Slice leftover pastries and toast them lightly, then spread with a thin layer of hazelnut spread for an extra indulgent treat. You can also crumble them over vanilla yogurt for a sweet breakfast twist.
Extra Little Touches
A tiny pinch of flaky salt on top before baking can enhance the chocolate flavor beautifully. Using high quality chocolate makes a noticeable difference in richness.
Make It Bakery Beautiful
For a polished look, trim the edges neatly before rolling and space them evenly on the tray. A light shine from the milk wash gives them that classic bakery finish.
Fun Variations to Try
- Add a thin layer of hazelnut spread before placing the chocolate stick.
- Sprinkle chopped nuts inside for extra crunch.
- Add a touch of orange zest for brightness.
- Dust with powdered sugar after baking for a classic look.
FAQ’s
Q1: Can I use frozen puff pastry?
Yes, just thaw it according to package instructions before using.
Q2: Can I make them smaller?
Absolutely, simply cut the pastry into smaller rectangles.
Q3: Can I use milk chocolate?
Yes, but it will be sweeter than dark chocolate.
Q4: How do I prevent chocolate from leaking?
Roll tightly and place seam side down on the baking sheet.
Q5: Can I freeze baked pastries?
Yes, though they are best fresh. Reheat in the oven to restore crispness.
Q6: Do I need egg wash?
Milk works well for a golden finish.
Q7: Why did my pastry not puff?
It may have been too warm before baking.
Q8: Can I prepare them the night before?
Yes, assemble and refrigerate until ready to bake.
Q9: How long do they stay fresh?
Best within one day, but can last up to three days refrigerated.
Q10: Can I add spices?
A pinch of cinnamon or cardamom can add warmth.
Conclusion
No-Pain Au Chocolat brings the charm of a French bakery right into your home kitchen without the complicated steps. With flaky layers and rich melted chocolate, it feels indulgent yet completely achievable. Give it a try and enjoy that first warm, buttery bite.
Print
No-Pain Au Chocolat
- Total Time: 33 minutes
- Yield: 12 pastries 1x
- Diet: Vegetarian
Description
Flaky and golden No-Pain Au Chocolat made with ready puff pastry and rich dark chocolate for an easy bakery-style treat at home.
Ingredients
- 2 puff pastry sheets, thawed but still cold
- 4 ounces dark chocolate bars, cut into sticks
- 2 tablespoons milk (for brushing)
- 1 tablespoon granulated sugar (optional)
Instructions
- Preheat oven to 400 degrees Fahrenheit and line a baking sheet with parchment paper.
- Unfold the puff pastry sheets on a lightly floured surface and cut each sheet into 6 equal rectangles.
- Place one stick of dark chocolate near one short edge of each pastry rectangle.
- Roll the pastry tightly over the chocolate, then tuck and roll again to form a neat log. Place seam side down on the prepared baking sheet.
- Brush the tops lightly with milk and sprinkle with granulated sugar if using.
- Bake for 15 to 18 minutes until puffed and deeply golden brown.
- Remove from the oven and let cool for 5 minutes before serving.
- Serve warm while the chocolate is still soft and melted.
Notes
- Keep puff pastry cold before baking for the best flaky layers.
- Do not overfill with chocolate to prevent leaking.
- Reheat leftovers in a 350 degree oven for 5 minutes to restore crispness.
- Pastries can be assembled and refrigerated up to 8 hours before baking.
- Prep Time: 15 minutes
- Cook Time: 18 minutes
- Category: Breakfast
- Method: Baking
- Cuisine: French Inspired
Nutrition
- Serving Size: 1 pastry
- Calories: 220
- Sugar: 8g
- Sodium: 95mg
- Fat: 14g
- Saturated Fat: 6g
- Unsaturated Fat: 7g
- Trans Fat: 0g
- Carbohydrates: 20g
- Fiber: 1g
- Protein: 3g
- Cholesterol: 5mg
Keywords: no pain au chocolat, easy pain au chocolat, puff pastry chocolate pastry, quick French pastry, homemade chocolate croissants