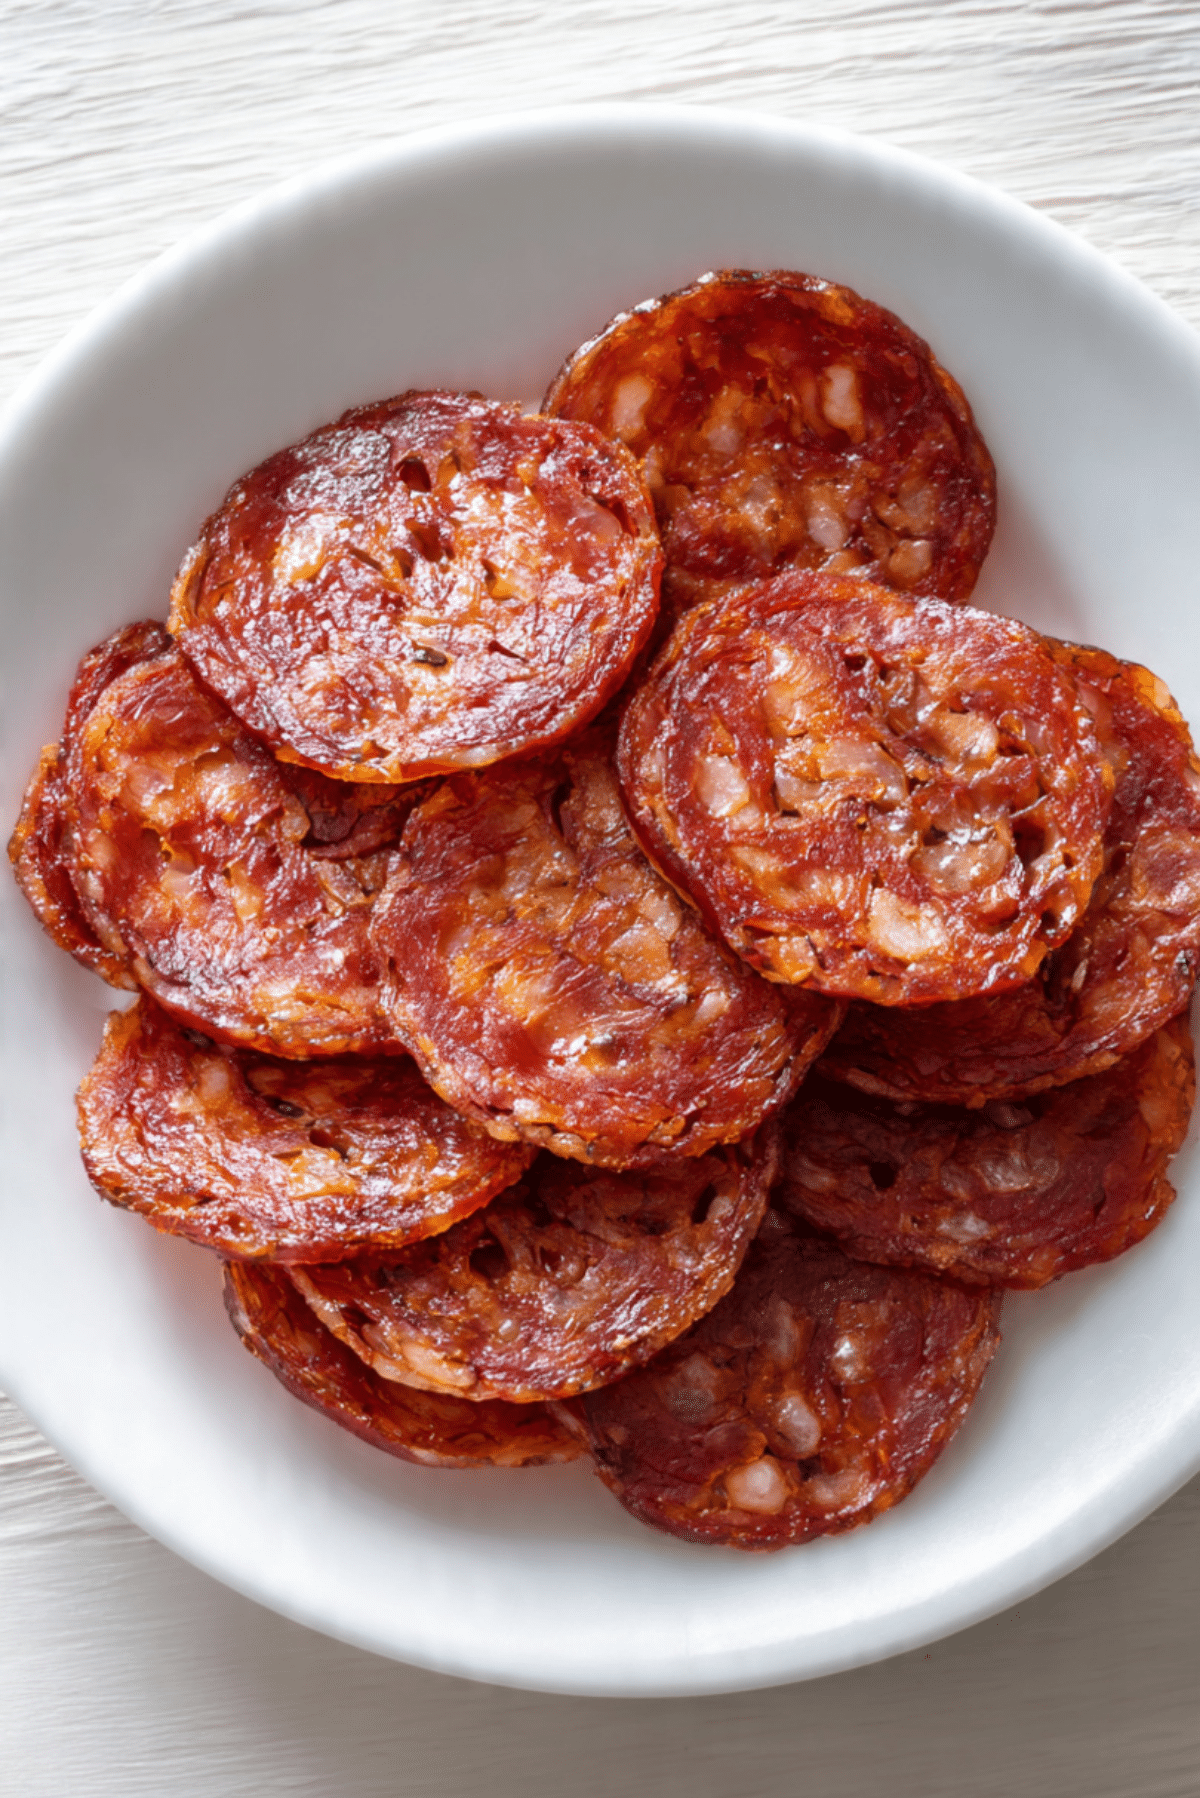
Salami Chips
There is something surprisingly satisfying about turning a simple slice of salami into a crispy, crunchy snack. The first time I made Salami Chips, I honestly did not expect much. I placed the slices on a baking sheet, slid them into the oven, and waited. A few minutes later, the edges began to curl, the aroma filled the kitchen, and what came out was golden, crisp, and completely addictive. Trust me, you’re going to love this. They are salty, crunchy, and absolutely worth every bite.
A Simple Snack With Big Flavor
Salami chips prove that you do not need complicated ingredients to create something delicious. As they bake, the fat renders slightly, leaving behind a crisp texture and concentrated savory flavor. Each chip delivers that classic salty, slightly smoky bite in a lighter, crunchier form. This one’s a total game changer for low carb snacking or quick party appetizers because it requires almost no prep at all.
And now let’s dive into why this method works so well.
Why Baking Transforms Salami Perfectly
When salami slices are exposed to high heat, moisture evaporates and the natural fats render. This process creates crisp edges and a satisfying crunch while intensifying the flavor. It is similar to making bacon crisp, but quicker and thinner. The result is a snack that feels indulgent without needing bread or crackers.
Why You’ll Keep Making These
Before we head to the oven, here is why this recipe is so reliable.
Versatile: Perfect as a snack or served with dips.
Budget-Friendly: Uses just one simple ingredient.
Quick and Easy: Ready in minutes.
Low Carb Friendly: Naturally keto friendly.
Crowd-Pleasing: Great for gatherings.
Make-Ahead Friendly: Stays crisp when stored properly.
Great for Pairing: Serve with cheese or olives.
Now let me share a few helpful tips.
Simple Tips for Perfect Crispiness
- Use thin sliced salami for the best texture.
- Arrange slices in a single layer without overlapping.
- Bake until edges curl and darken slightly.
- Let cool fully to achieve maximum crispness.
With that in mind, let’s gather what you need.
Kitchen Tools You’ll Use
Baking Sheet: Provides even heat.
Parchment Paper: Prevents sticking and simplifies cleanup.
Paper Towels: Helps absorb excess grease after baking.
And now let’s look at the ingredient.
Ingredient You Will Need
This recipe keeps things beautifully simple.
- Thin Sliced Salami: 6 to 8 ounces, arranged in a single layer.
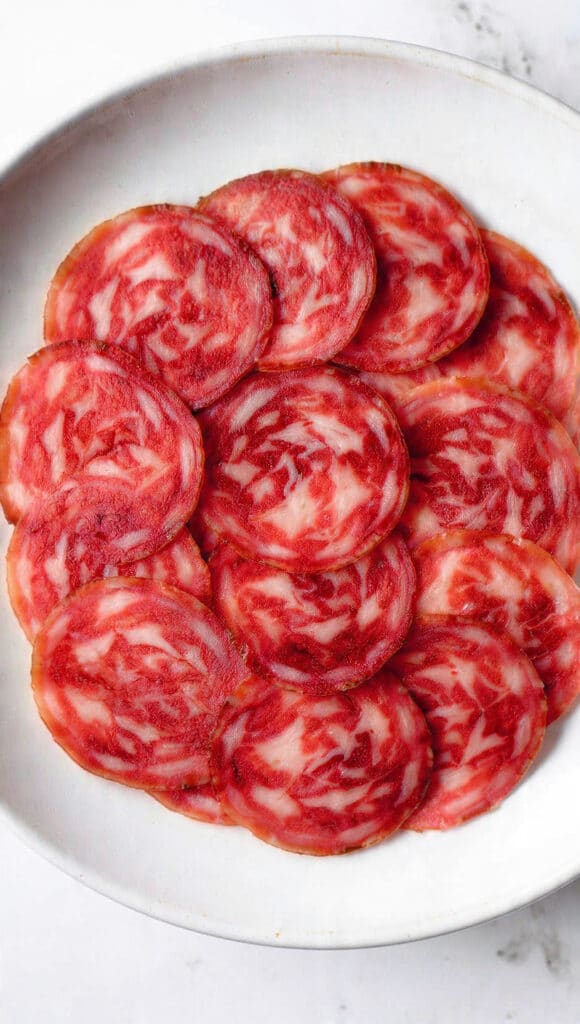
That is it. Sometimes simple truly is best.
Optional Additions
If you want to elevate them slightly, here are ideas.
- Sprinkle with black pepper before baking.
- Add a pinch of red pepper flakes for heat.
- Serve with a creamy dip on the side.
Now let’s make them.
Let’s Bake These Crispy Chips
This process is fast and easy.
- Preheat Your Equipment: Preheat the oven to 400°F and line a baking sheet with parchment paper.
- Prepare Your Cooking Vessel: Arrange salami slices in a single layer on the baking sheet without overlapping.
- Cook to Perfection: Bake for 8 to 10 minutes, or until edges are curled and slightly browned.
- Finishing Touches: Remove from oven and transfer to paper towels to absorb excess grease. Allow to cool completely.
- Serve and Enjoy: Serve once fully crisp for the best texture.
Texture and Flavor in Every Crunch
As they cool, the salami firms up into delicate, crispy chips. The flavor becomes more concentrated, savory, and slightly smoky. Each bite offers a satisfying crunch followed by bold seasoning.
Helpful Tips for Best Results
- Watch closely near the end to prevent burning.
- Thinner slices crisp better than thick ones.
- Cool completely before storing.
Common Mistakes and How to Avoid Them
- Overlapping slices, which prevents even crisping.
- Removing too early before fully crisp.
- Skipping cooling time.
Nutrition Snapshot
Servings: 4
Calories per serving: 180
Note: These are approximate values.
Time Breakdown
Prep Time: 5 minutes
Cook Time: 10 minutes
Total Time: 15 minutes
Make Ahead and Storage Tips
Store cooled chips in an airtight container at room temperature for up to three days. If they soften slightly, place back in a warm oven for a few minutes to crisp again.
How to Serve Them Beautifully
Arrange in a neat stack on a white plate or serve in a small bowl alongside cheese cubes and olives.
Creative Pairings
Pair with cream cheese dip, guacamole, or a spicy mustard for added flavor.
Additional Tips
Try different varieties of salami for unique flavor profiles.
Make It a Showstopper
Serve as part of a charcuterie board for a fun and crunchy addition.
Variations to Try
- Use peppered salami for extra spice.
- Try turkey salami for a lighter option.
- Add grated Parmesan on top before baking.
- Sprinkle with dried herbs for aroma.
FAQ’s
Q1: Can I make these in an air fryer?
Yes, cook at 375°F for about 6 to 8 minutes.
Q2: How do I know they are done?
Edges will curl and darken slightly.
Q3: Can I use thick slices?
Thin slices work best for crispiness.
Q4: How long do they stay crisp?
Up to three days when stored properly.
Q5: Are they keto friendly?
Yes, they are naturally low carb.
Q6: Can I freeze them?
Not recommended.
Q7: Why are mine chewy?
They may need more baking time.
Q8: Can I add seasoning?
Yes, before baking.
Q9: Do they shrink?
Yes, slightly as fat renders.
Q10: Can kids eat them?
Yes, but monitor sodium intake.
Conclusion
Salami Chips are crunchy, savory, and incredibly simple to make. With just one ingredient and a few minutes in the oven, you get a bold snack that satisfies every salty craving. Let me tell you, they are worth every bite. Once you try them, you may never look at a plain slice of salami the same way again.
Print
Salami Chips
- Total Time: 15 minutes
- Yield: 4 servings 1x
Description
Crispy baked salami chips made with thin sliced salami and roasted until perfectly curled and crunchy. This simple one ingredient snack is bold, savory, and perfect for low carb snacking or party platters.
Ingredients
- 6 to 8 ounces thin sliced salami
Instructions
- Preheat the oven to 400°F and line a baking sheet with parchment paper.
- Arrange the thin sliced salami in a single layer on the prepared baking sheet without overlapping.
- Bake for 8 to 10 minutes until the edges curl and the slices are slightly browned.
- Remove from the oven and transfer to a plate lined with paper towels to absorb excess grease.
- Allow the salami chips to cool completely so they become fully crisp before serving.
Notes
- Use thin slices for the best crisp texture.
- Watch closely during the last few minutes to prevent burning.
- If chips soften after storing, reheat briefly in the oven to crisp again.
- Prep Time: 5 minutes
- Cook Time: 10 minutes
- Category: Snack
- Method: Baking
- Cuisine: American
Nutrition
- Serving Size: 1 serving
- Calories: 180
- Sugar: 0g
- Sodium: 750mg
- Fat: 15g
- Saturated Fat: 6g
- Unsaturated Fat: 8g
- Trans Fat: 0g
- Carbohydrates: 1g
- Fiber: 0g
- Protein: 10g
- Cholesterol: 35mg
Keywords: salami chips, baked salami chips, keto snack, low carb appetizer